Enable HTTPS on influxdb for debian

To enable HTTPS on influxdb for debian do the following.

Get a certificate. Easy way is to let debian do it for you. The ssl-cert package will generate a self signed cert.

apt-get install ssl-cert

Now pipe the key and pem to somewhere influxdb can get to it. 

cat /etc/ssl/private/ssl-cert-snakeoil.key /etc/ssl/certs/ssl-cert-snakeoil.pem > /etc/influxdb/influxdb.pem

Then turn on https in your /etc/influxdb/influxdb.conf and point to your new pem.

vi /etc/influxdb/influxdb.conf
[admin]
  enabled = true
  bind-address = ":8083"
  https-enabled = true
  https-certificate = "/etc/influxdb/influxdb.pem"

[http]
  enabled = true
  bind-address = ":8086"
  auth-enabled = true
  log-enabled = true
  write-tracing = false
  pprof-enabled = false
  https-enabled = true
  https-certificate = "/etc/influxdb/influxdb.pem"

Start up influxdb and you’re done.

service influxdb restart


Bash: Run command if exists, else echo blank

Useful if you want to only output something if a command exists.

if $(type YOUR_COMMAND &> /dev/null); then RUN_YOUR_COMMAND; else echo ""; fi

For example, I use this on my Proxmox hypervisors with ZFS to get status. Not all my hypervisors have zfs arrays. Makes it easy to blanket ssh to all hypervisors and get zfs status if it exists. For a custom status page I wrote.

if $(type zpool &> /dev/null); then zpool list; else echo ""; fi


Proxmox and Quagga and OSPF

A few quick notes on getting Proxmox running with Quagga routers so they can serve up OSPF routes. I did this with Proxmox 3.1-3 and Quagga 0.99.22.4-1+wheezy1.

  1. apt-get update
  2. apt-get install quagga
  3.  vi /etc/quagga/daemons
    • turn on zebra and ospfd
  4. cp /usr/share/doc/quagga/examples/vtysh.conf.sample /etc/quagga/vtysh.conf
  5. cp /usr/share/doc/quagga/examples/ospfd.conf.sample /etc/quagga/ospfd.conf
  6. cp /usr/share/doc/quagga/examples/zebra.conf.sample /etc/quagga/zebra.conf
  7. modify above conf files if you want (can leave default)
  8. turn off annoying splash screens in vtysh
    • vi /etc/bash.bashrc
    • export VTYSH_PAGER=more
    • source /etc/bash.bashrc
  9. service quagga restart
  10. vtysh
  11. configure terminal
  12. router ospf
  13. set the ospf id name. Usually set to this machine’s IP (replace <MACHINE_IP> below)
    • router-id <MACHINE_IP>
    • eg router-id 192.168.1.1
  14. specify networks to route and for what ospf area
    • network <IP>/<CIDR> area <AREA>
    • eg. network 192.168.1.0/24 area 1
  15. end
  16. copy running-config startup-config
  17. now start watching `show ip route` for the routes to show up from other ospf routers with an O in the front.
    • can also look at `show ip ospf neighbor` to see your ospf neighbors.

Change terminal backgrounds to identify

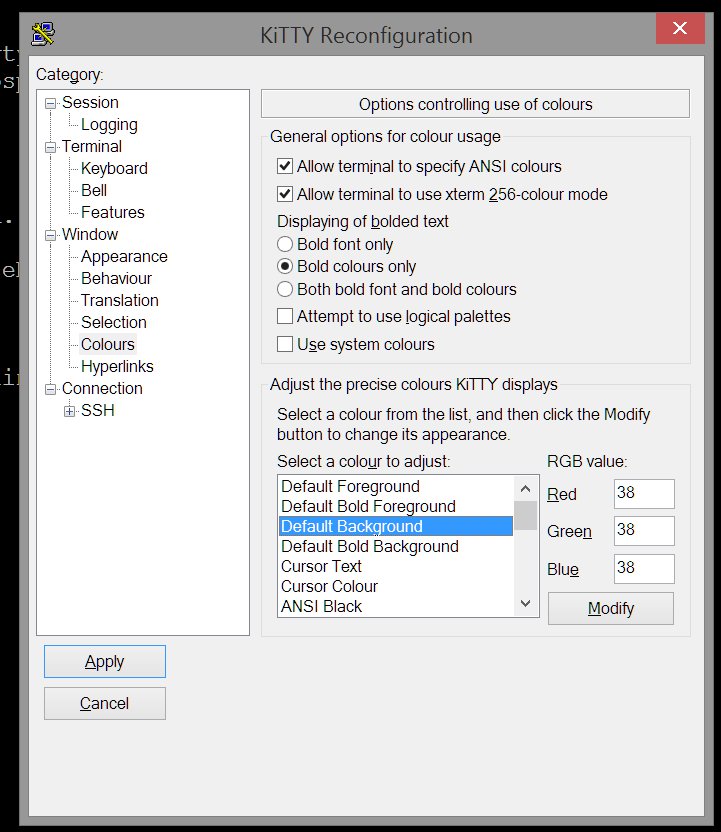
If you’re like me and start forgetting which terminal is which, try changing their background so it’s easier to tell. Most modern terminals can do this out of the box. In putty (and KiTTY) it’s a simple as: Screenshot_031415_095752_PM

I like to do this on terminals that have critical connections up (like a primary router). So I don’t accidentally type something wrong in there… 🙂

Fish shell and Putty

If you run into some weird characters while using Fish shell from Putty, try changing Putty’s remote character set to UTF-8:

Right Click Putty -> Change Settings -> Window -> Translation -> Remote Character Set -> UTF-8.

Before and after:

jdrews@arch ~> vi /home/jdrews/.config/fish/fish
â¦fish/fish_history  â¦fish/fishd.00155d03510c
jdrews@arch ~> vi /home/jdrews/.config/fish/fish
…fish/fish_history  …fish/fishd.00155d03510c

And if your Home and End keys don’t work, try putting this into your config.fish file .

jdrews@arch ~> cat ~/.config/fish/config.fish
function fish_user_key_bindings
        bind \e\[1~ beginning-of-line
        bind \e\[3~ delete-char
        bind \e\[4~ end-of-line

end


dnsmasq DNS server and multiple subnets

If you run into a problem where your dnsmasq DNS server is not responding to dns queries from separate subnets than the DNS server’s subnet, try setting the listen-address to the DNS server’s IP (e.g. where you’re running dnsmasq).

On the Ubiquiti EdgeRouter Lite (which is based on mips Debian wheezy) the file to change is:

/etc/dnsmasq.d/local.conf

(make it if it doesn’t exist)

add this to that file:

listen-address=<DNS-SERVER-IP>

Where <DNS-SERVER-IP> is the IP of your machine that’s running dnsmasq.

If you’re running dnsmasq from the command line, without using the conf files, add this parameter

--listen-address <DNS-SERVER-IP>

EdgeRouter Lite Performance Tests

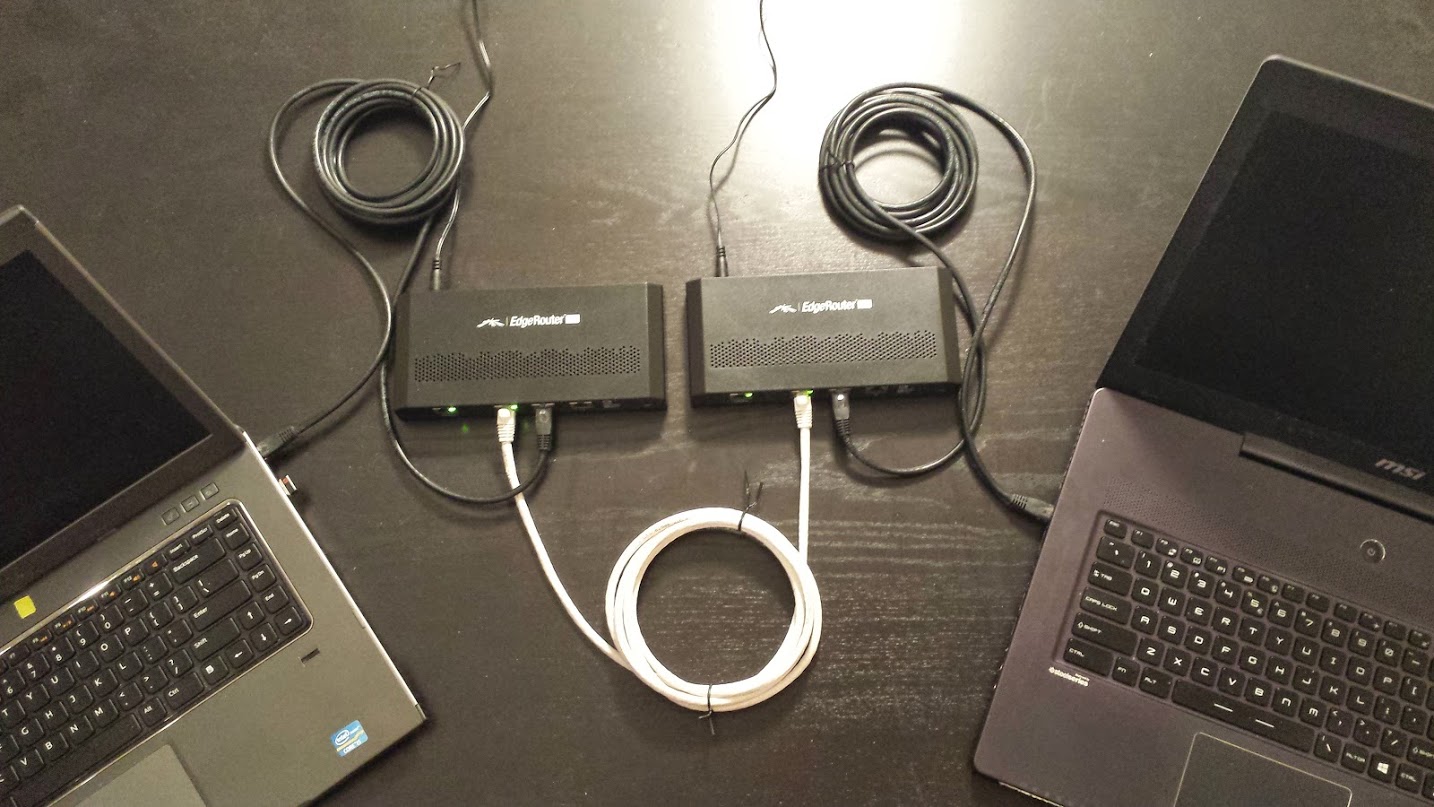
Starting with two laptops connected to one ERL each. ERLs both running 1.5.0.

Laptop A <-> ERL <-> ERL <-> Laptop B
192.168.20.100 <-> 192.168.20.1 192.168.1.2 <-> 192.168.1.1 192.168.10.1 <-> 192.168.10.10020141010_22362


I’m using OSPF to expose these two networks to each other for this test. See EdgeRouter Lite Simple OSPF Guide

iperf results from one laptop to the other:

$ iperf -s
------------------------------------------------------------
Server listening on TCP port 5001
TCP window size: 64.0 KByte (default)
------------------------------------------------------------
[ 4] local 192.168.10.100 port 5001 connected with 192.168.20.100 port 42797
[ ID] Interval Transfer Bandwidth
[ 4] 0.0-10.0 sec 1.10 GBytes 940 Mbits/sec
[ 4] local 192.168.10.100 port 5001 connected with 192.168.20.100 port 42820
[ ID] Interval Transfer Bandwidth
[ 4] 0.0-100.0 sec 11.0 GBytes 941 Mbits/sec

 Near wire. Great!

 Next we’ll remove the OSPF routing and setup an IPSec tunnel between the two an retest.

I used the GUI’s IPSec site-to-site feature to set this up. Here’s what it generated:

vpn {
    ipsec {
        auto-firewall-nat-exclude enable
        esp-group FOO0 {
            compression disable
            lifetime 3600
            mode tunnel
            pfs enable
            proposal 1 {
                encryption aes128
                hash sha1
            }
        }
        ike-group FOO0 {
            lifetime 28800
            proposal 1 {
                dh-group 14
                encryption aes128
                hash sha1
            }
        }
        ipsec-interfaces {
            interface eth0
        }
        nat-networks {
            allowed-network 0.0.0.0/0 {
            }
        }
        nat-traversal enable
        site-to-site {
            peer 192.168.1.2 {
                authentication {
                    mode pre-shared-secret
                    pre-shared-secret ****************
                }
                connection-type initiate
                ike-group FOO0
                local-ip 192.168.1.1
                tunnel 1 {
                    allow-nat-networks disable
                    allow-public-networks disable
                    esp-group FOO0
                    local {
                        subnet 192.168.10.0/24
                    }
                    remote {
                        subnet 192.168.20.0/24
                    }
                }
            }
        }
    }
}

And the results with IPSec hardware offload disabled.

'set system offload ipsec disable'

[ 4] local 192.168.10.100 port 5001 connected with 192.168.20.100 port 44600
[ ID] Interval Transfer Bandwidth
[ 4] 0.0-100.1 sec 718 MBytes 60.2 Mbits/sec
[ 4] local 192.168.10.100 port 5001 connected with 192.168.20.100 port 44601
[ ID] Interval Transfer Bandwidth
[ 4] 0.0-10.0 sec 72.5 MBytes 60.5 Mbits/sec

And with IPSec hardware offload enabled.

'set system offload ipsec enable'

[ 4] local 192.168.10.100 port 5001 connected with 192.168.20.100 port 44586
[ ID] Interval Transfer Bandwidth
[ 4] 0.0-10.0 sec 180 MBytes 151 Mbits/sec
[ 4] local 192.168.10.100 port 5001 connected with 192.168.20.100 port 44590
[ ID] Interval Transfer Bandwidth
[ 4] 0.0-10.0 sec 179 MBytes 150 Mbits/sec
[ 4] local 192.168.10.100 port 5001 connected with 192.168.20.100 port 44596
[ ID] Interval Transfer Bandwidth
[ 4] 0.0-100.0 sec 1.75 GBytes 151 Mbits/sec

Not bad!

However, even with IPSec enabled, load average increases a good bit when pushing max data through the IPSec VPN

jdrews@ERL10:~$ uptime
 10:23:23 up 23 min, 1 user, load average: 0.58, 0.66, 0.47

Compared to without pushing data

jdrews@ERL10:~$ uptime
 20:47:29 up 10:47, 1 user, load average: 0.00, 0.01, 0.05

While this didn’t seem to affect the usage of the router, it is a little worrying. I don’t have any firewalls or other services enabled on the router. What happens when we take this into the real world? It’s worth noting that this is a dual core router, so really that’s only 1/4 of total processing power.

EdgeRouter Lite Simple OSPF Guide

Here’s a really simple OSPF setup on two Ubiquiti Edge Router Lites.

Two ERLs hooked together via eth0.

ERL20 <-> ERL10
192.168.20.1 192.168.1.2 <-> 192.168.1.1 192.168.10.1
20141010_22362

on ERL20 get into configure and run the following:

# give this router an id. 
set protocols ospf parameters router-id 192.168.20.1

# 0.0.0.0 is backbone. Add in networks to advertise. 
set protocols ospf area 0.0.0.0 network 192.168.1.0/24
set protocols ospf area 0.0.0.0 network 192.168.20.0/24

# enable ospf on eth0 interface (going to ERL10) 
set interfaces ethernet eth0 ip ospf

on ERL10 get into configure and run the following.

# give this router an id. 
set protocols ospf parameters router-id 192.168.10.1

# 0.0.0.0 is backbone. Add in networks to advertise. 
set protocols ospf area 0.0.0.0 network 192.168.1.0/24
set protocols ospf area 0.0.0.0 network 192.168.10.0/24

# enable ospf on eth0 interface (going to ERL20) 
set interfaces ethernet eth0 ip ospf

run ‘commit’ on both them, (‘save’ if you want to) and ‘exit’ to prompt.

Now watch ospf work it’s magic.

jdrews@ERL10:~$ show ip ospf neighbor

 Neighbor ID Pri State Dead Time Address Interface RXmtL RqstL DBsmL
192.168.20.1 1 2-Way/DROther 34.213s 192.168.1.2 eth0:192.168.1.1 0 0 0

jdrews@ERL20:~$ show ip ospf neighbor

 Neighbor ID Pri State Dead Time Address Interface RXmtL RqstL DBsmL
192.168.10.1 1 2-Way/DROther 36.422s 192.168.1.1 eth0:192.168.1.2 0 0 0

jdrews@ERL10:~$ show ip ospf neighbor

 Neighbor ID Pri State Dead Time Address Interface RXmtL RqstL DBsmL
192.168.20.1 1 ExStart/DR 30.837s 192.168.1.2 eth0:192.168.1.1 0 0 0

jdrews@ERL20:~$ show ip ospf neighbor

 Neighbor ID Pri State Dead Time Address Interface RXmtL RqstL DBsmL
192.168.10.1 1 Full/Backup 39.764s 192.168.1.1 eth0:192.168.1.2 2 0 0

jdrews@ERL10:~$ show ip ospf neighbor

 Neighbor ID Pri State Dead Time Address Interface RXmtL RqstL DBsmL
192.168.20.1 1 Full/DR 39.674s 192.168.1.2 eth0:192.168.1.1 1 0 0

Now you should have routes

jdrews@ERL10:~$ show ip route
Codes: K - kernel route, C - connected, S - static, R - RIP, O - OSPF,
 I - ISIS, B - BGP, > - selected route, * - FIB route

C>* 127.0.0.0/8 is directly connected, lo
O 192.168.1.0/24 [110/10] is directly connected, eth0, 00:11:40
C>* 192.168.1.0/24 is directly connected, eth0
O 192.168.10.0/24 [110/10] is directly connected, eth1, 00:11:39
C>* 192.168.10.0/24 is directly connected, eth1
O>* 192.168.20.0/24 [110/20] via 192.168.1.2, eth0, 00:10:58

jdrews@ERL20:~$ show ip route
Codes: K - kernel route, C - connected, S - static, R - RIP, O - OSPF,
 I - ISIS, B - BGP, > - selected route, * - FIB route

C>* 127.0.0.0/8 is directly connected, lo
O 192.168.1.0/24 [110/10] is directly connected, eth0, 00:11:34
C>* 192.168.1.0/24 is directly connected, eth0
O>* 192.168.10.0/24 [110/20] via 192.168.1.1, eth0, 00:10:44
O 192.168.20.0/24 [110/10] is directly connected, eth1, 00:11:33
C>* 192.168.20.0/24 is directly connected, eth1
 

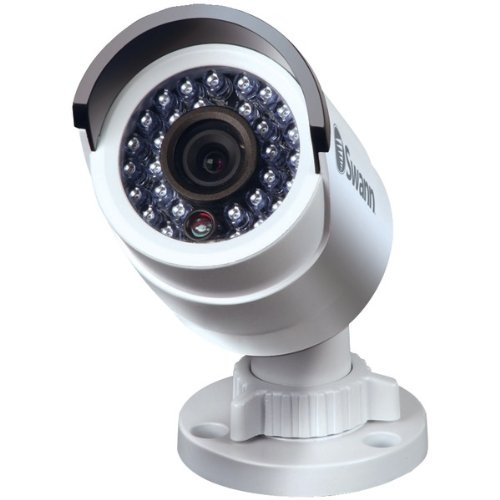
Swann HD-820CAM

I picked up a Swann HD-820CAM (NHD-820)

SWANN SWNHD-820CAM-US 1080p HD Network Security Camera for Swann’s 1080p NVRs

Manufacturer Link: http://www.swann.com/us/swnhd-820cam

You don’t need a Swann receiver to use it.

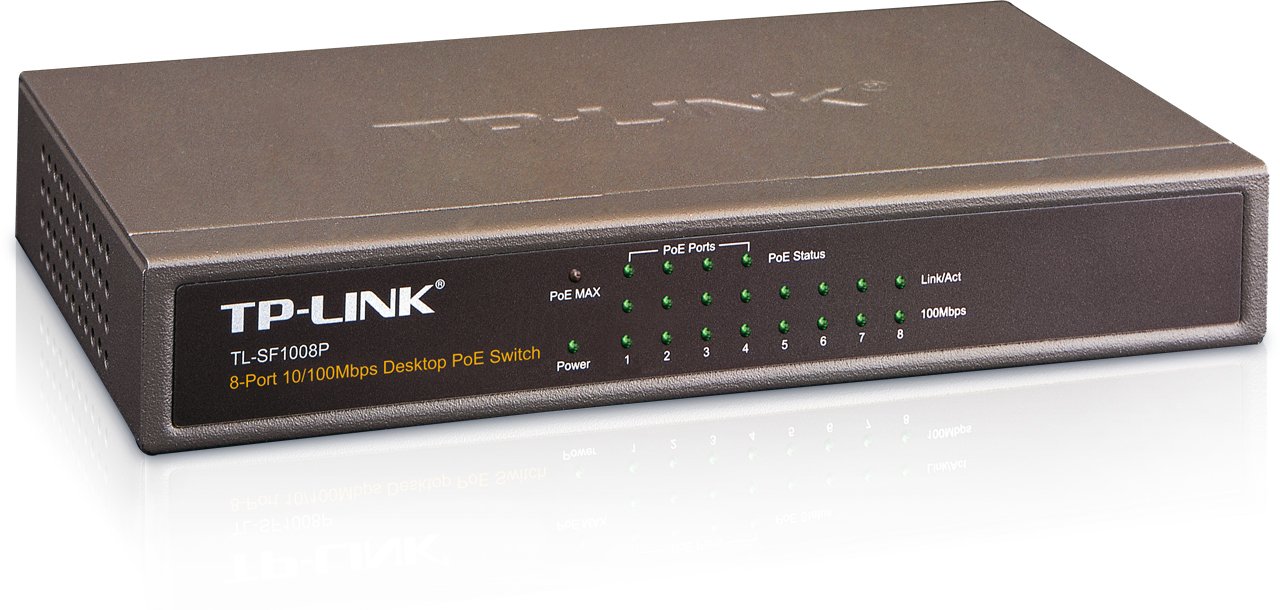
Plug it into a switch that supports PoE. I’m using this one and can confirm it will run the IP Camera:

TP-LINK TL-SF1008P 10/100Mbps 8-Port PoE Switch, 4 POE ports, IEEE 802.3af, 53W

Set your computer to an IP in 192.0.0.0/24 (i.e. 192.168.0.200) and go to 192.0.0.64 in your browser. That’s the default IP of the camera.
Username is admin
Password is 12345

You can change it’s IP in the web management to whatever you want.

To stream via VLC use RTSP:

Media->Open Network Stream
type in one of the following:

Main (1st) Stream (720p or 1080p)
rtsp://YOUR_CAMERA_IP/Streaming/channels/1
Sub (2nd) Stream (240p or 480p)
rtsp://YOUR_CAMERA_IP/Streaming/channels/2

I can also confirm that Wowza Streaming Engine will read in the RTSP streams above and properly converts them to RTMP (which is what Flash requires).

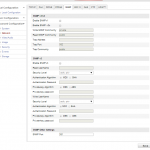
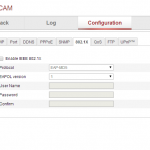
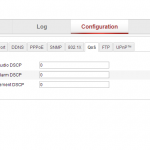
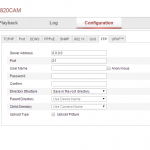
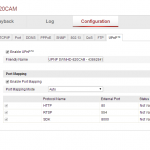
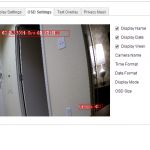
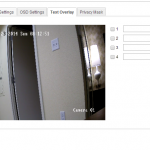
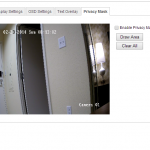
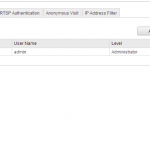
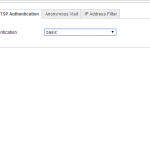
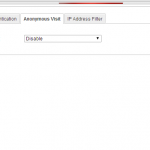
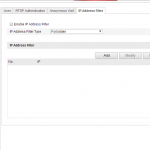
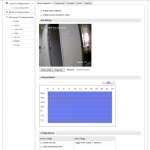
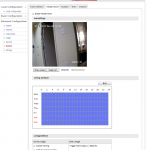
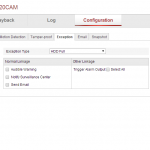
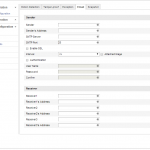
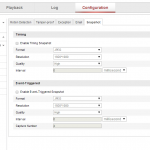
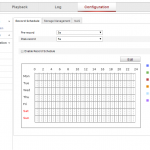
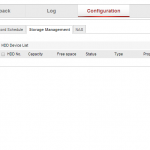
Here’s all the screens in the web management:

Dell Vostro 3560: Removing Base Cover

Removing the Base Cover on the Dell Vostro 3560 is quite tricky.

Here’s what the manual says to do:

Screenshot_100513_104405_PM.jpg


Seems easy enough. In actuality it’s much harder. The cover won’t slide. You have to work your way around the edges with a small screw driver. Be very careful since the base cover is plastic.

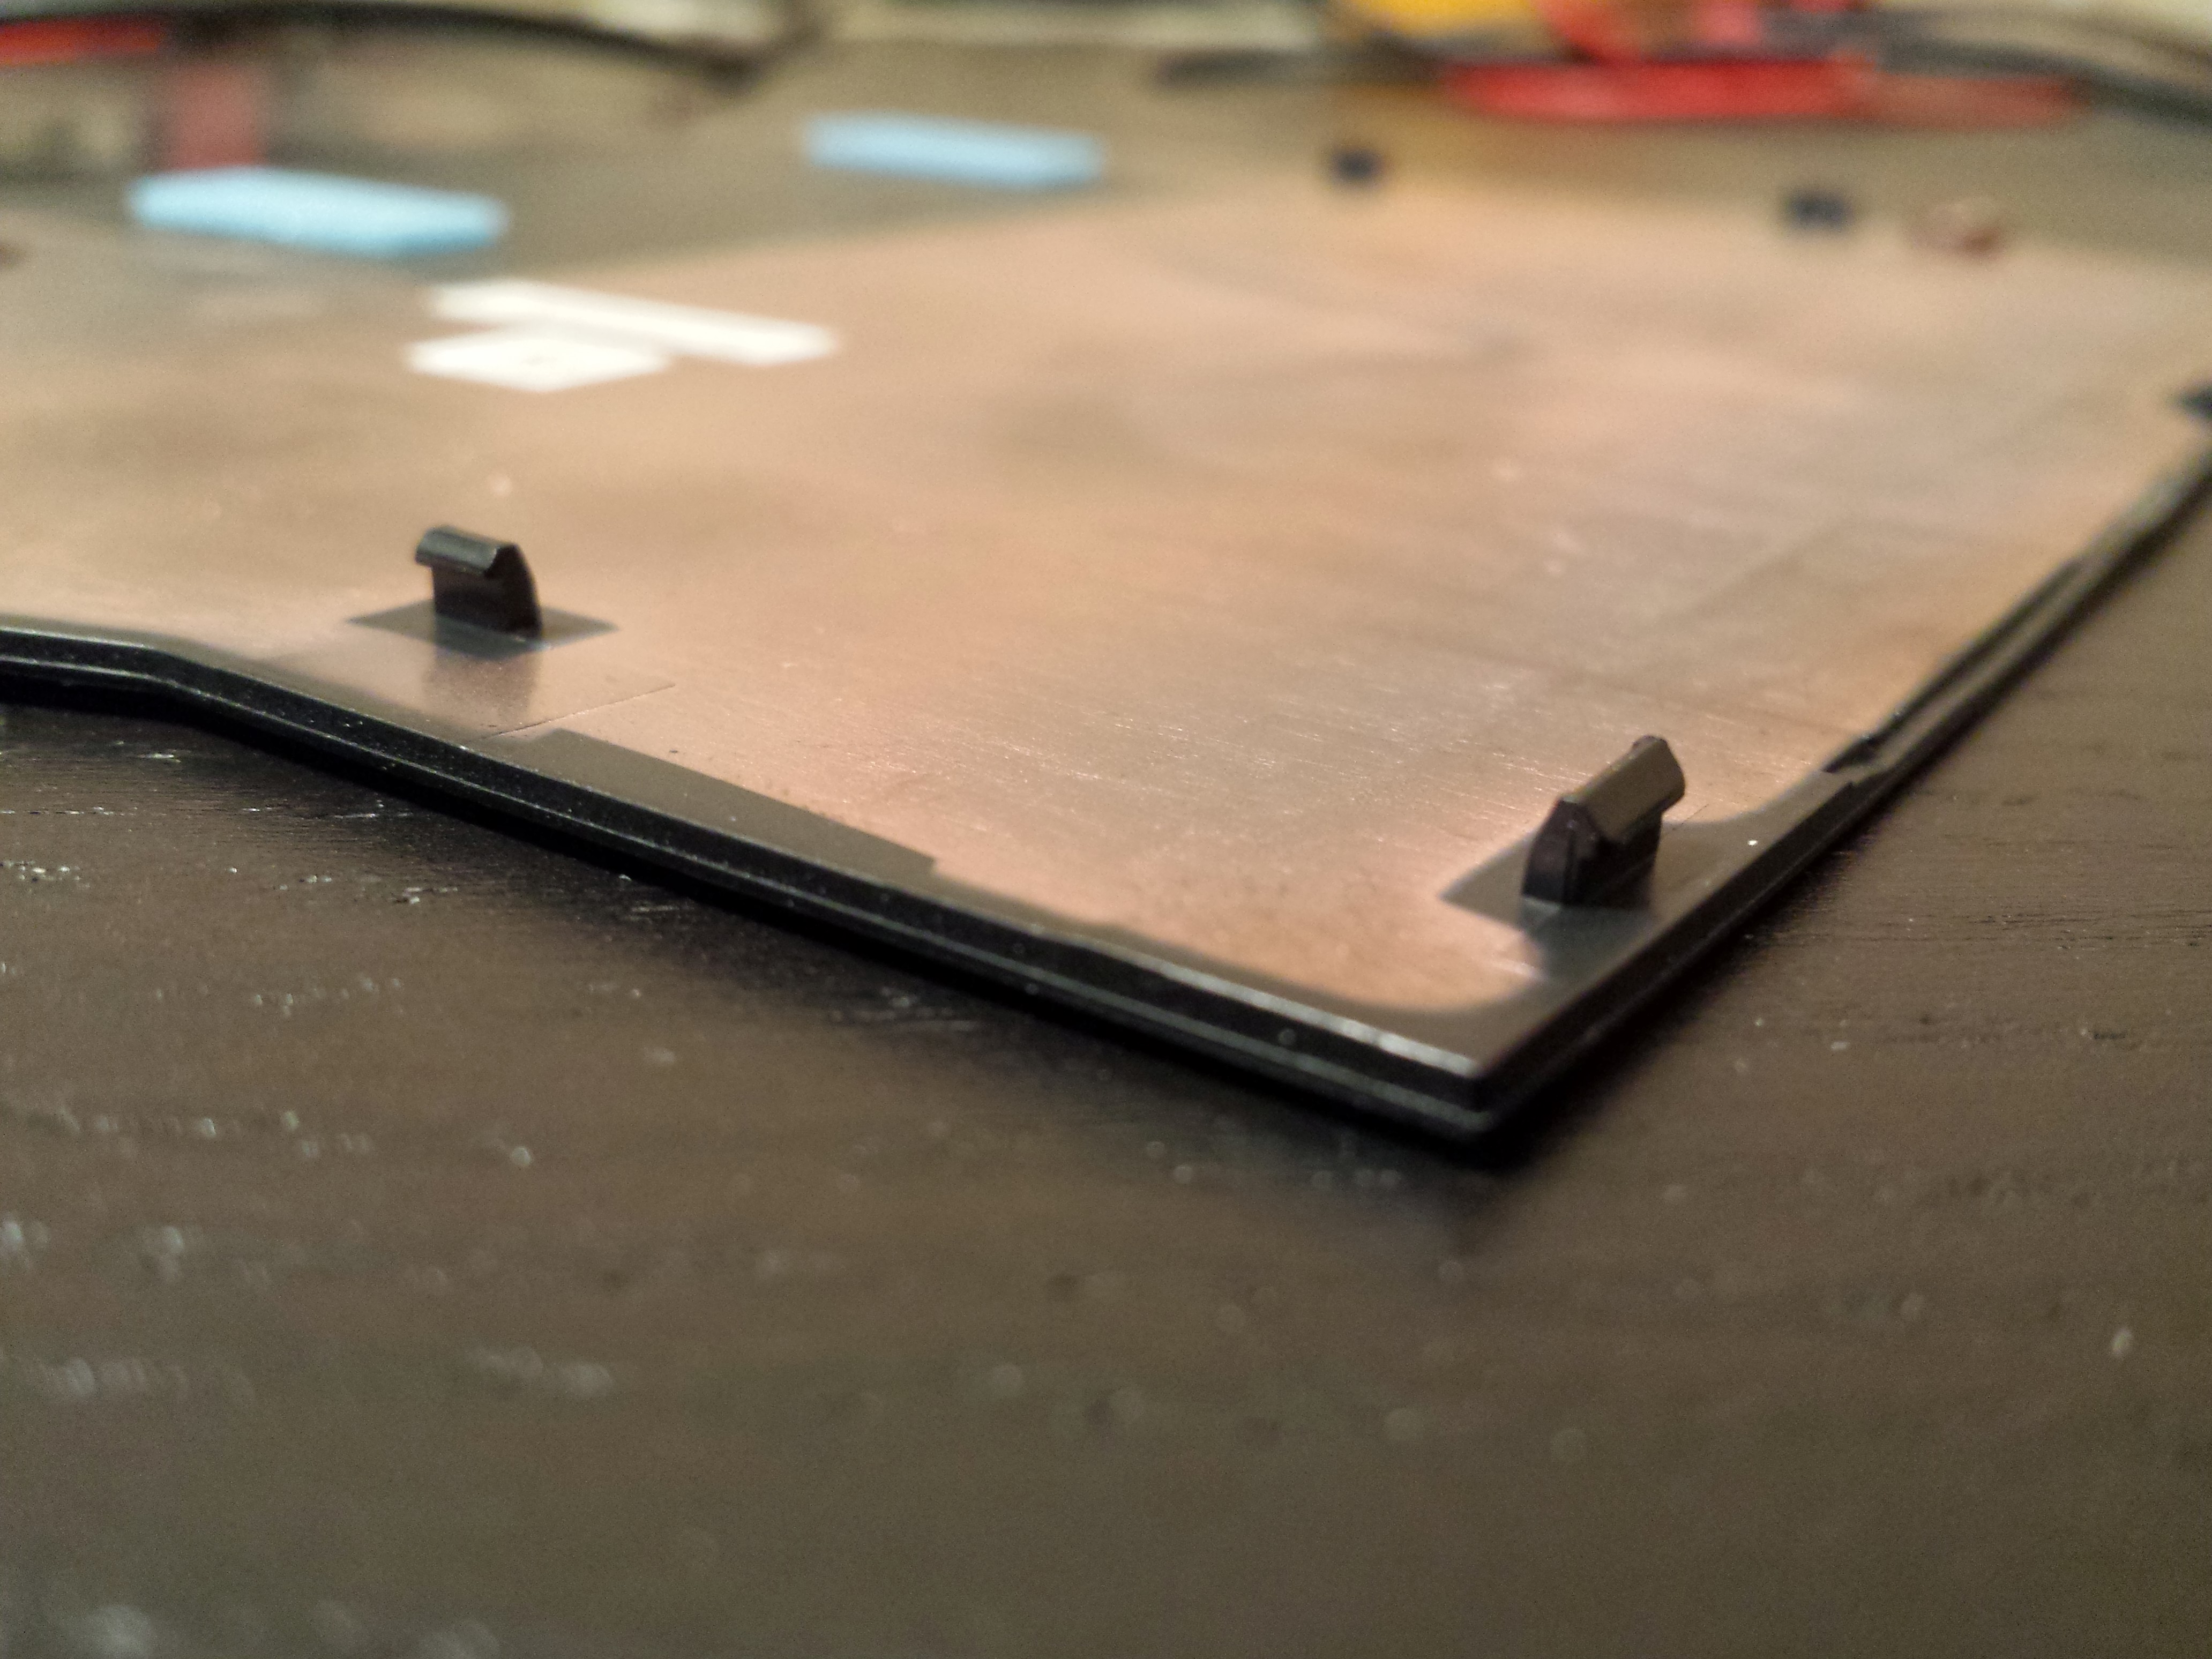
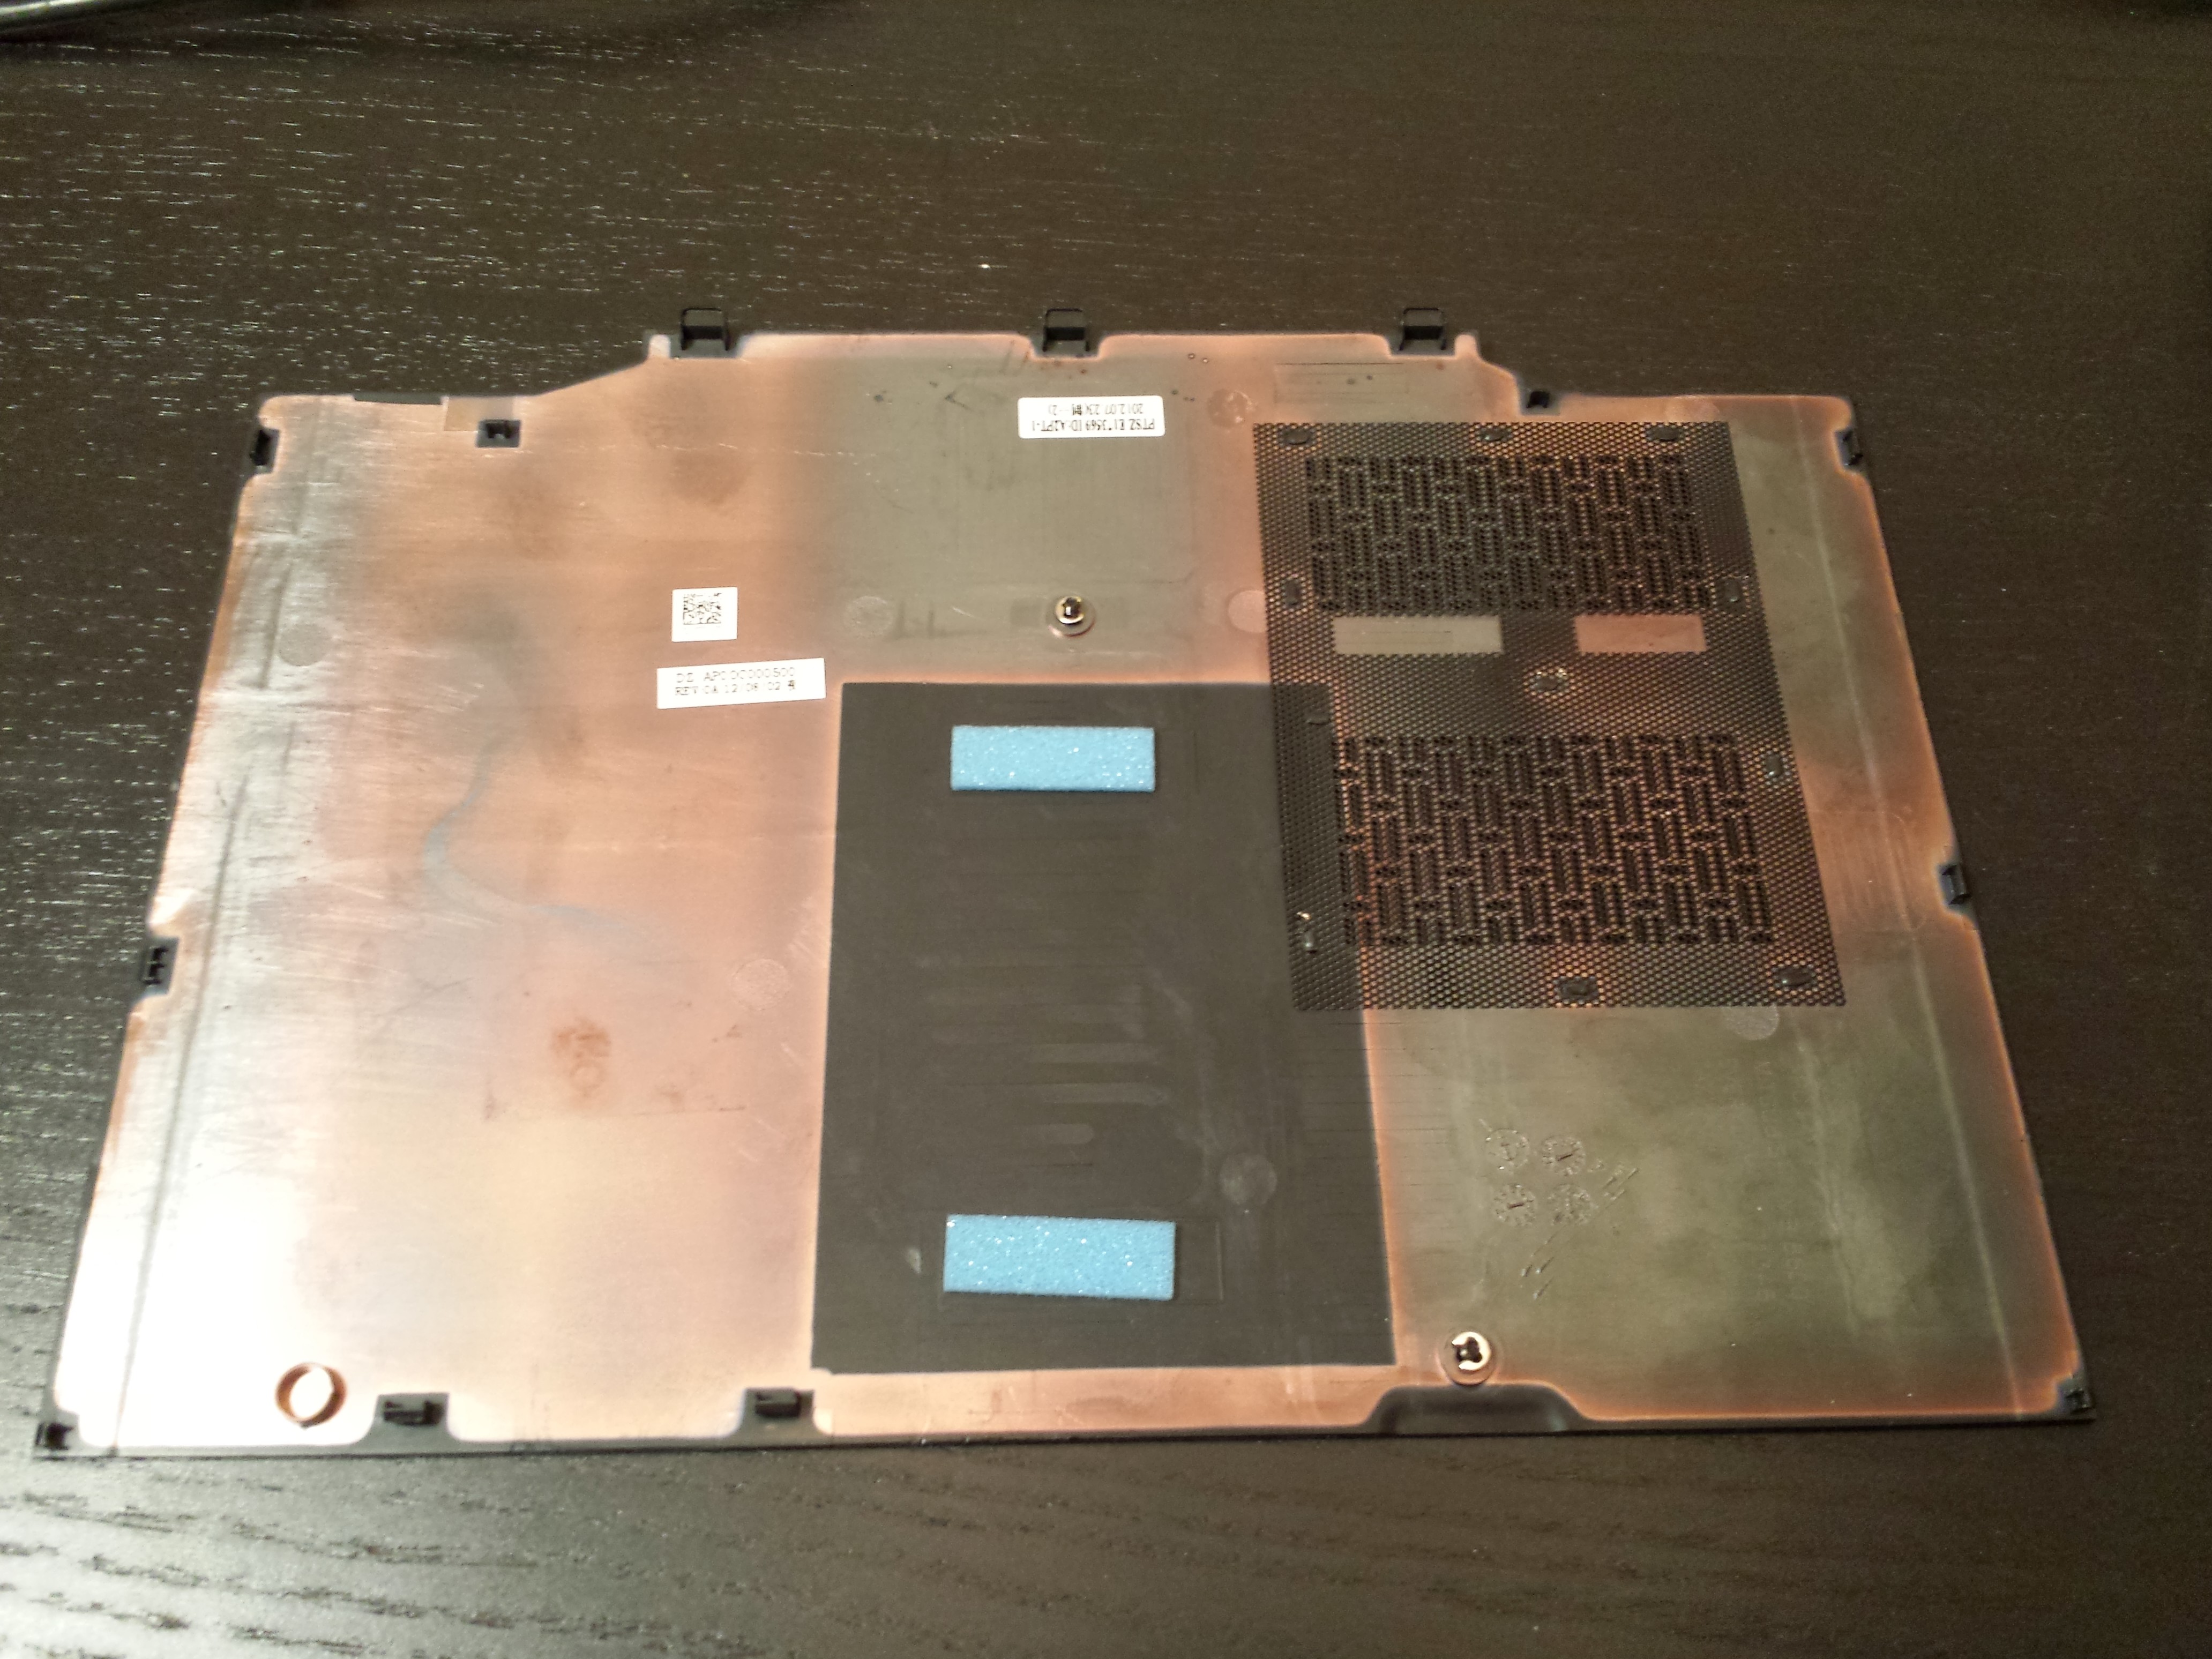
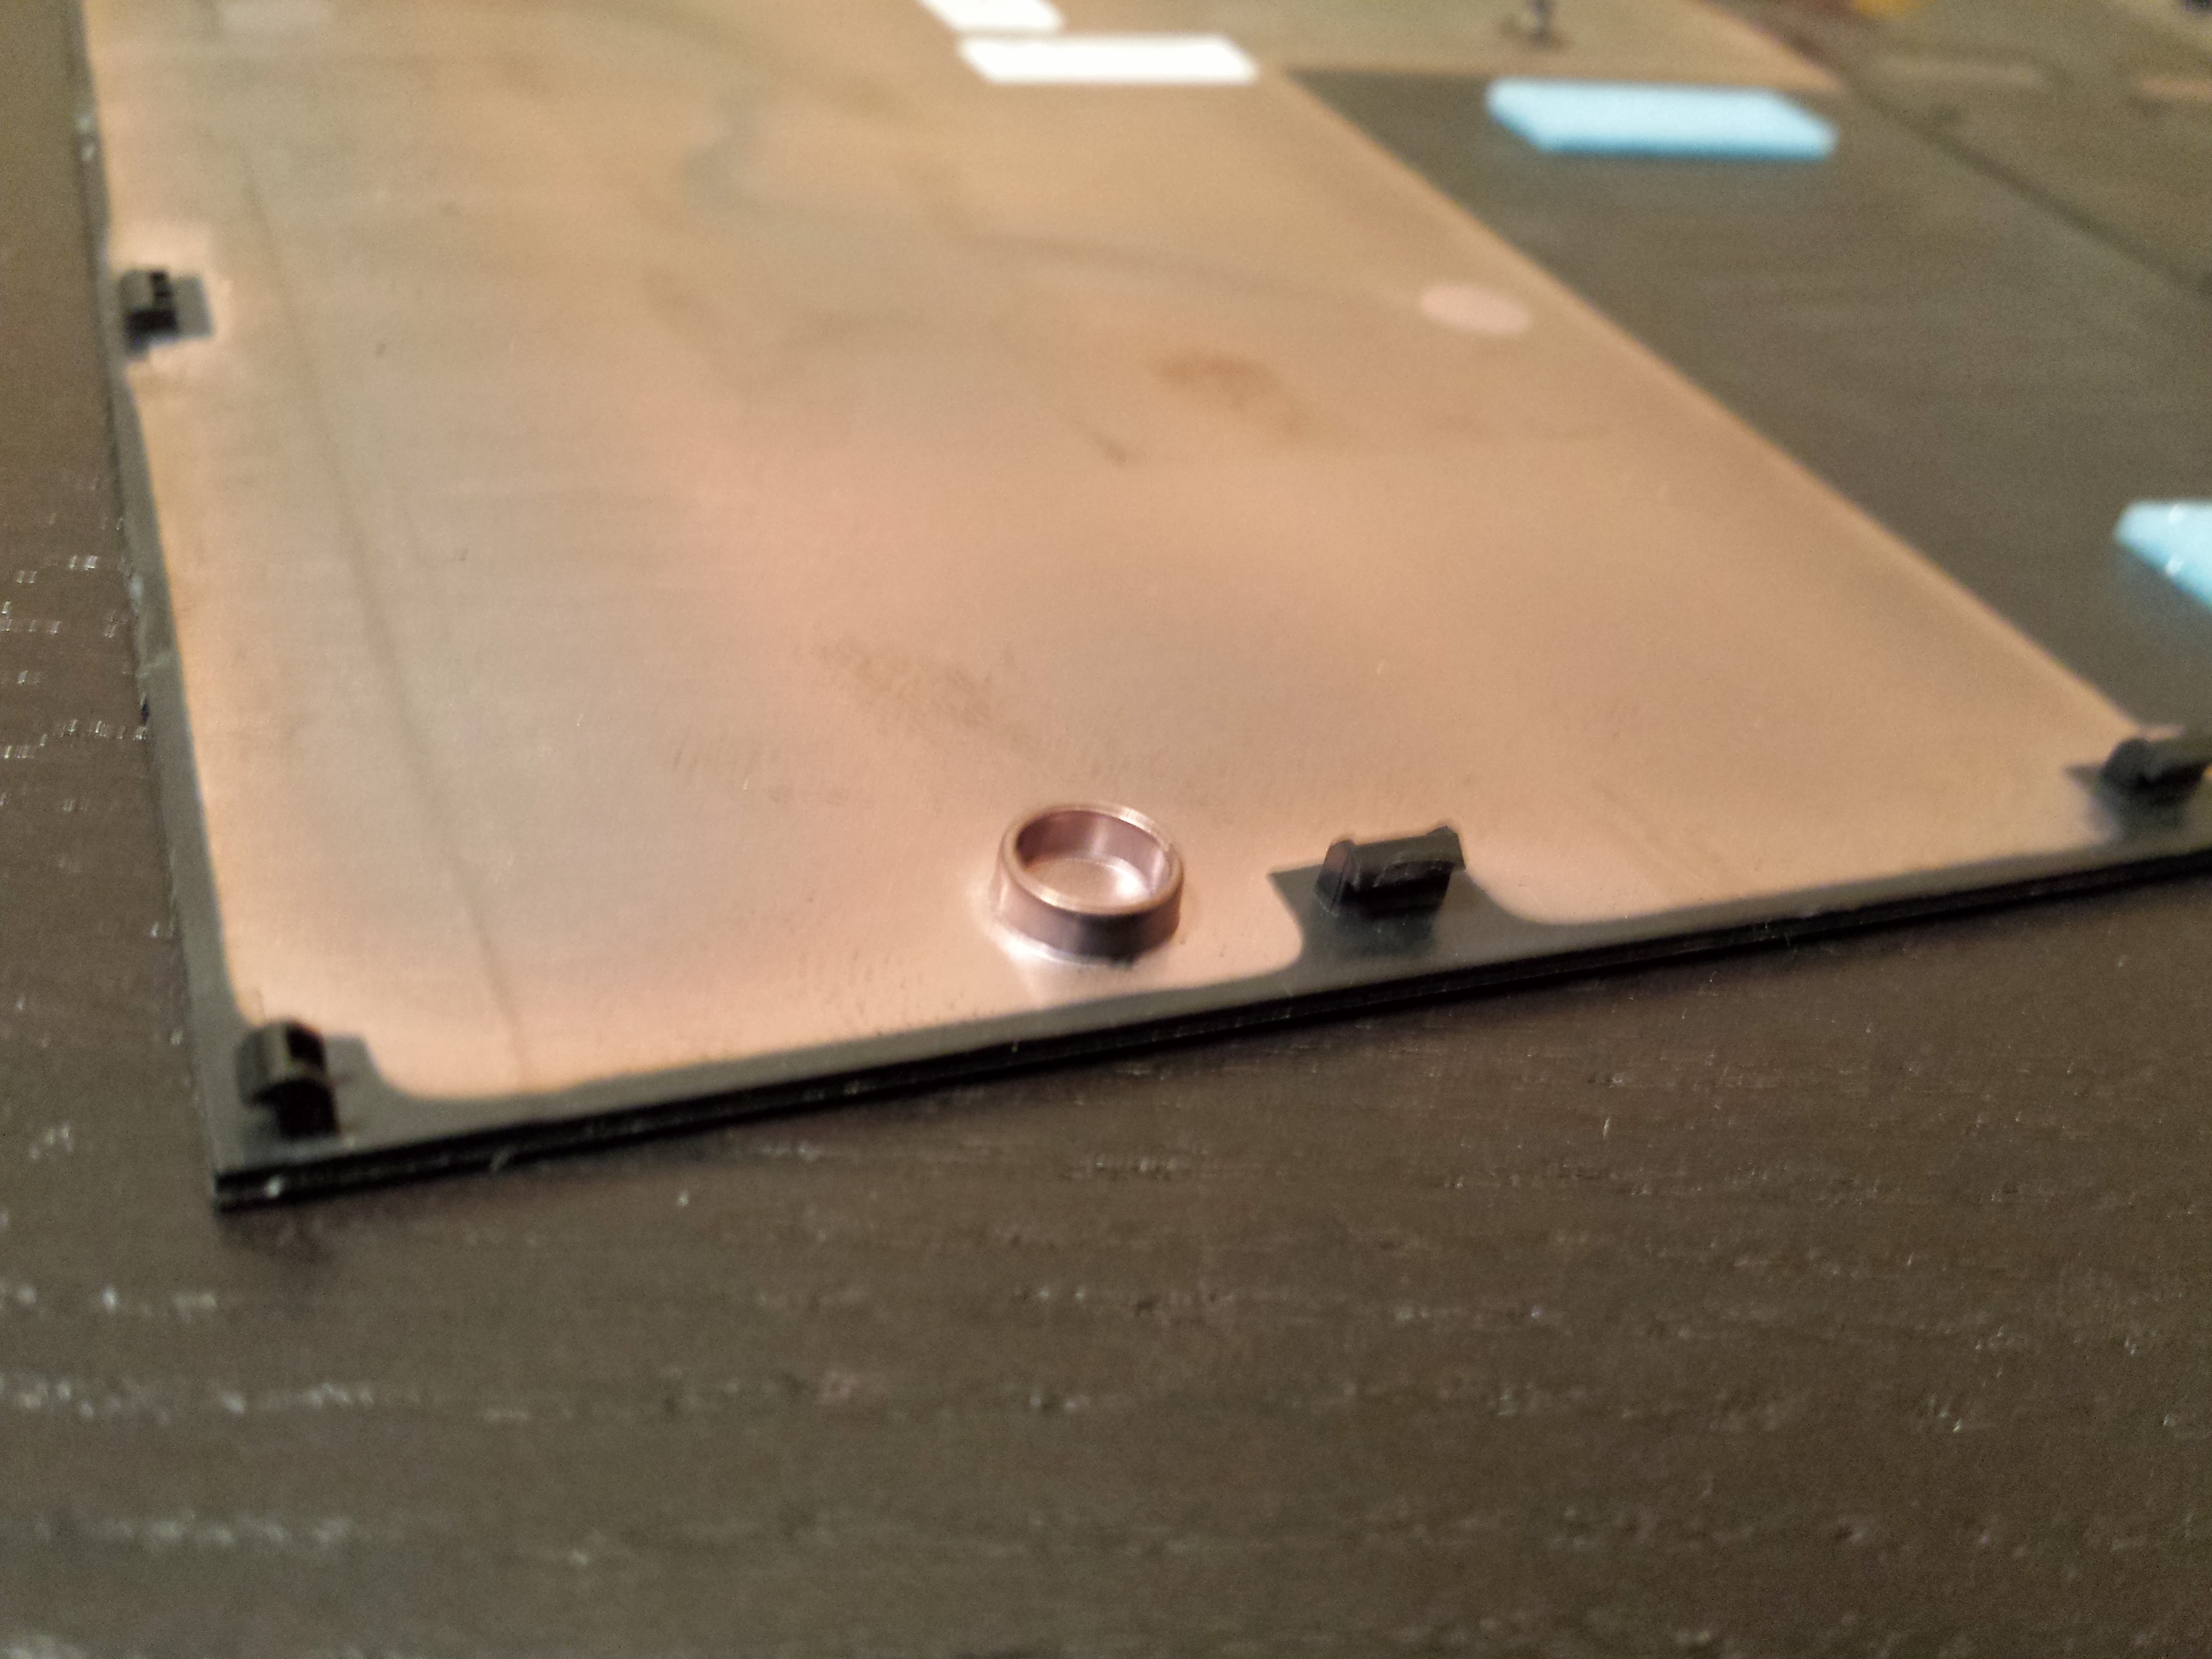
Your goal is to get each one of these plastic lips out.

20130920_200109


There are 13 of them as seen below.

20130920_200026

Another view of these annoying little bastards.

20130920_200037


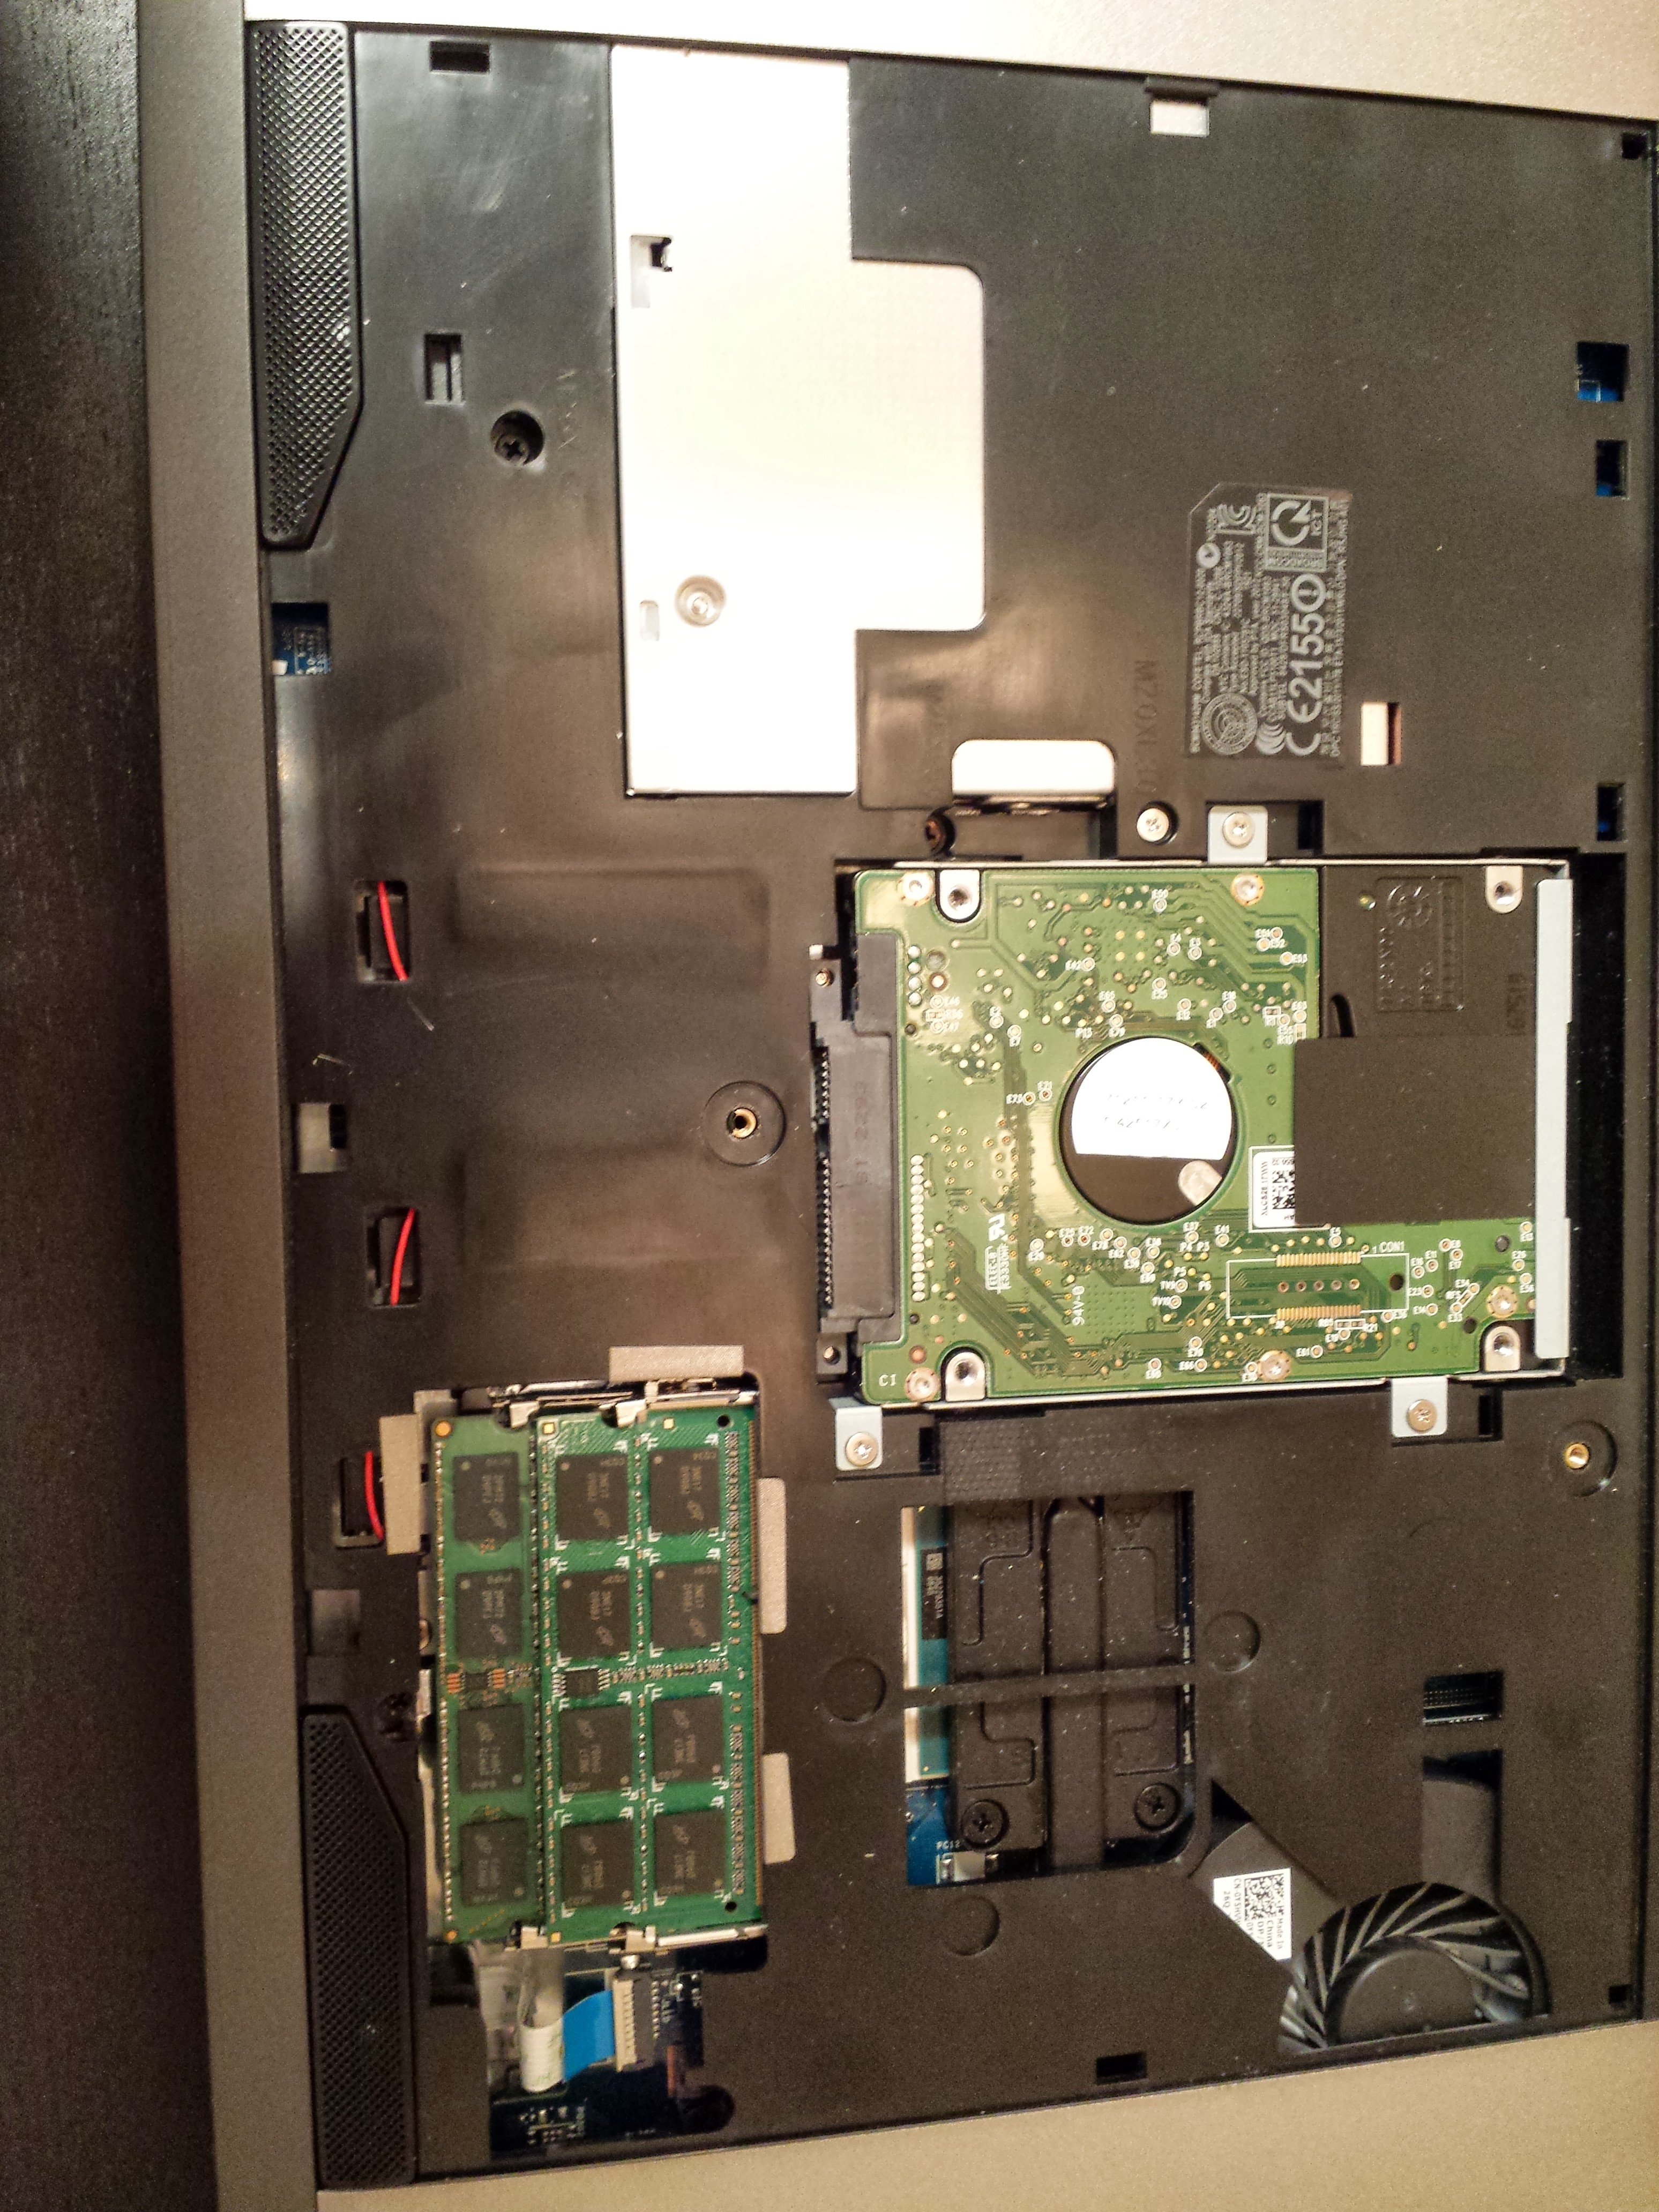
Here’s what the 3560 looks like with the base cover removed.

20130920_200240


Good luck!