Found a used 4.4 cu. ft. Danby DCR412BLS on craigslist for $65 bucks. Figured it’d be a good kegerator for my ball lock kegs I grabbed from Midwest Supplies (Brew Logic Dual Tap Draft System).
After reading this post on homebrewtalk I enlisted the help of my brew buddy and set to bending down the freezer section. Here’s a photo log.
Here’s the refrigerator before modifications. I yanked out the trays and let it get to room temp for about 4-5 days. 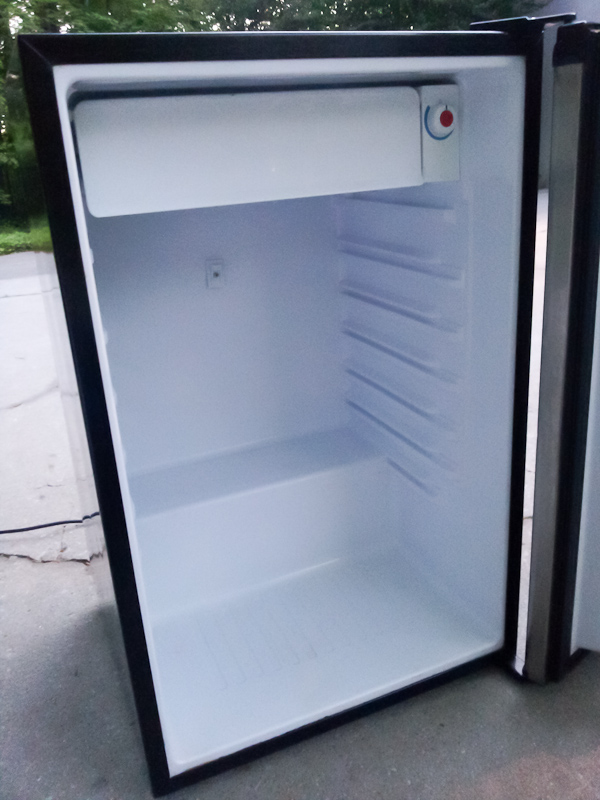
This is the freezer tray that we’ll be bending back. I plan on putting my CO2 tank and regulator outside the fridge so I don’t need to bend it back all the way.
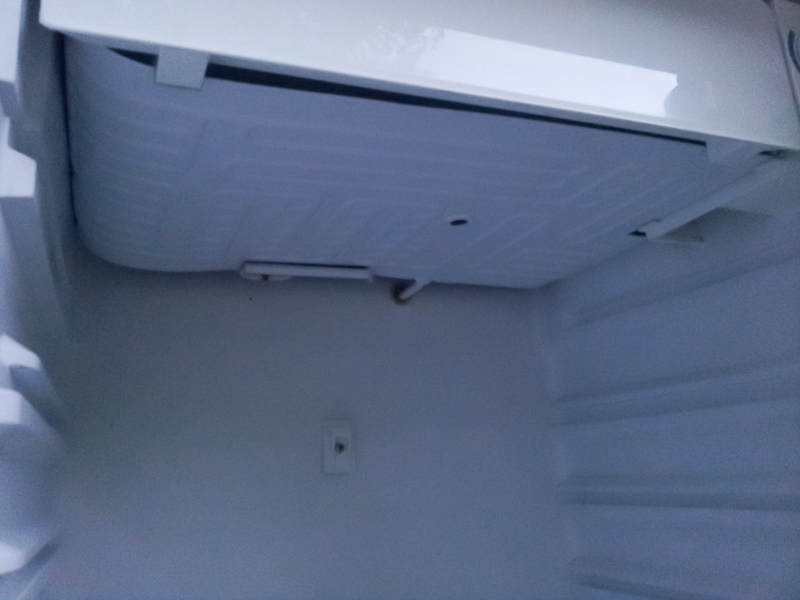
This is the temp control unit. Three philips screws on it. I removed this to get the freezer tray to bend down.
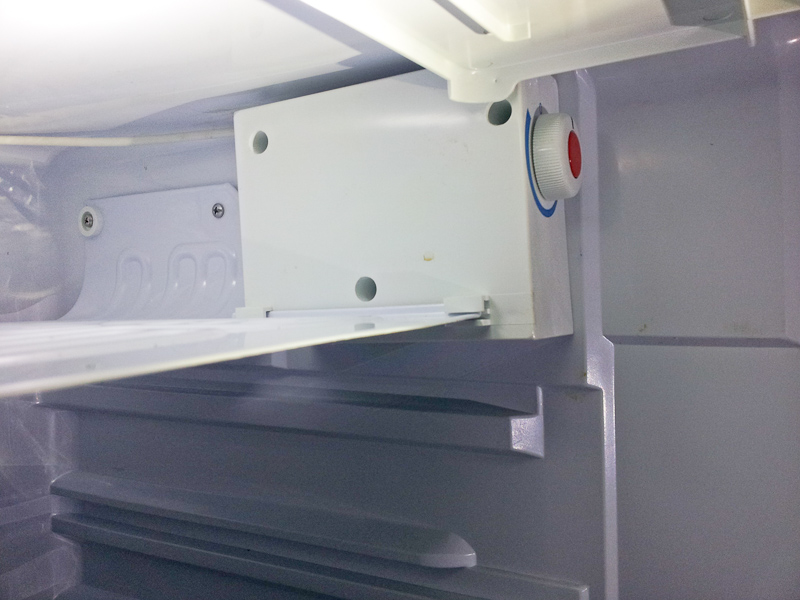
The tray has 4 phillips screws holding it in place.
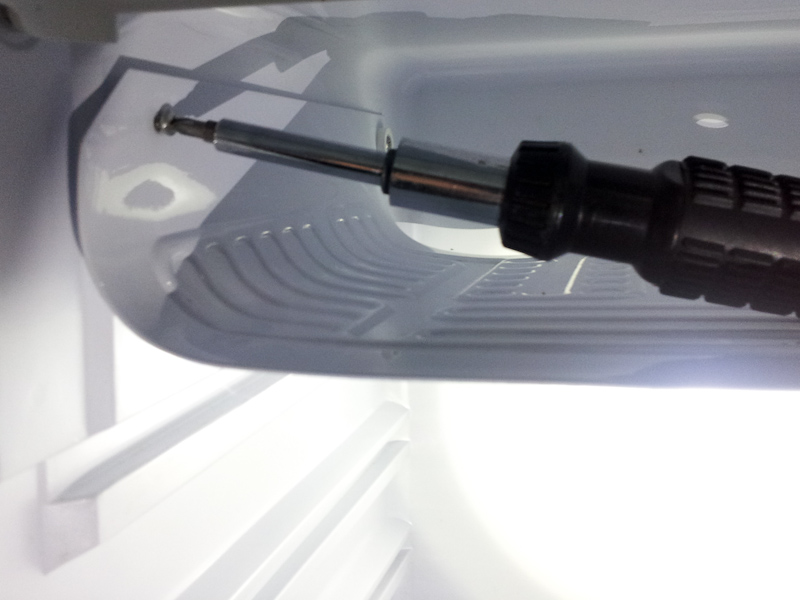
Another view of the freezer tray.
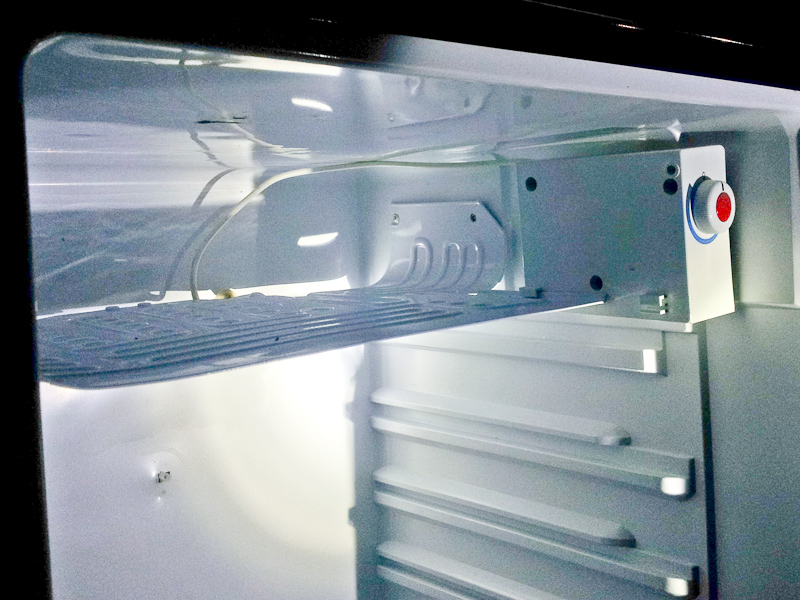
The temp controller line just slides out of the little clip. You might have to give it a good tug to get it out. Also you can see the pipe that you’ll be bending down. I heard from the forums to bend at the back of the pipe (near the wall). But more on that later…
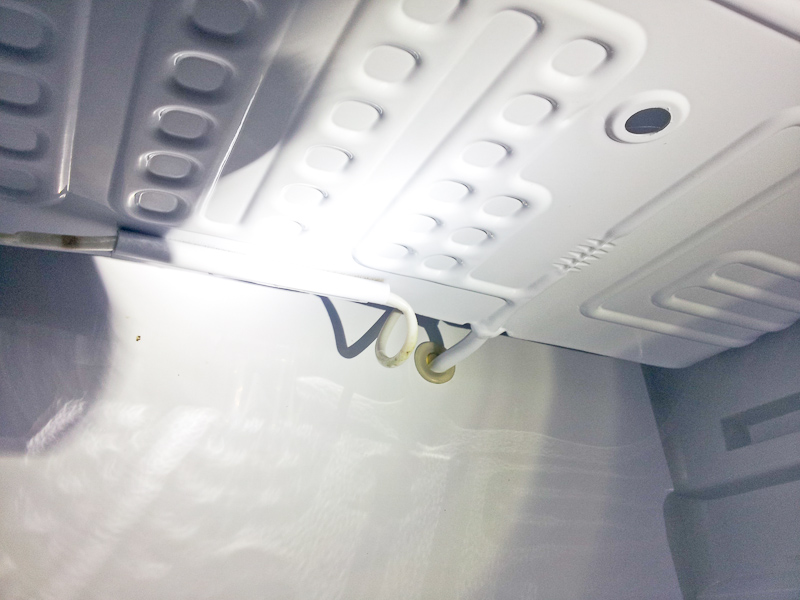
Here we removed the temp controller. It just slid out (towards the fridge door). After that the freezer tray was freestanding.
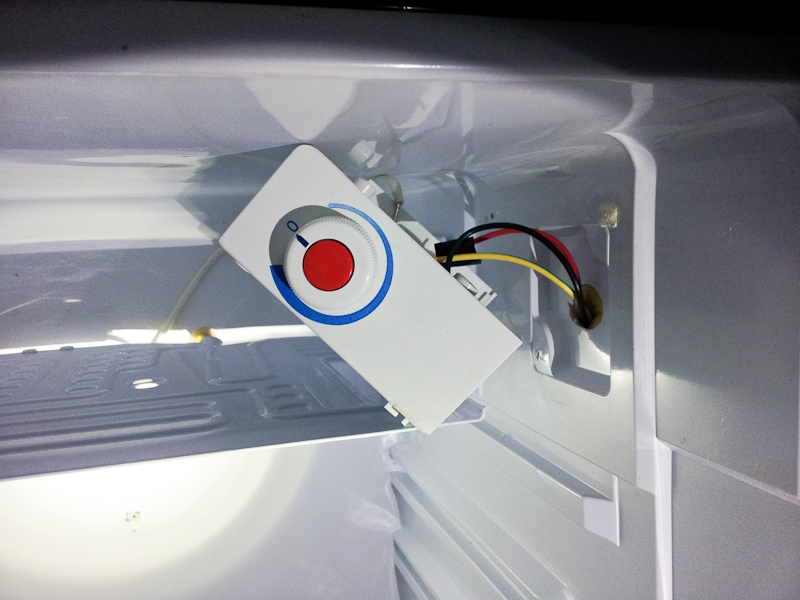
Here we slid out the temp controller. We also unscrewed that clip in the back. Probably didn’t need to do that.
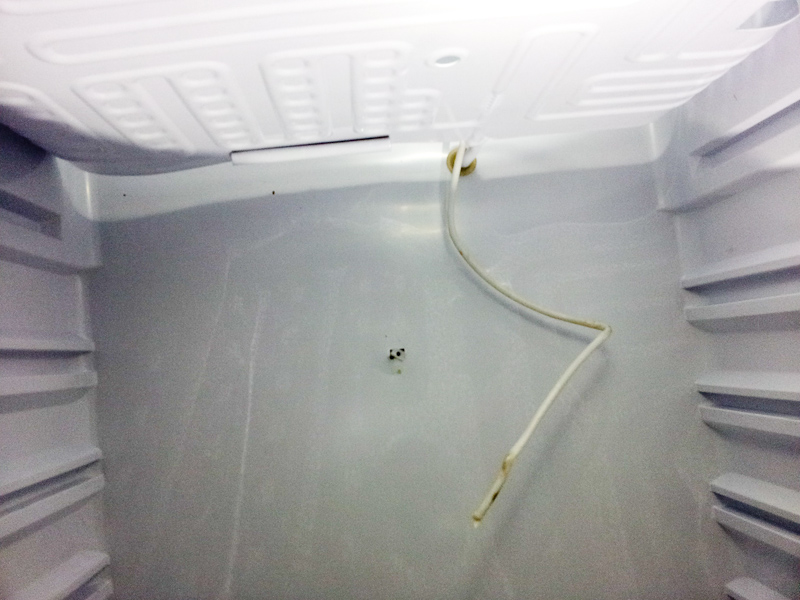
Now we were ready to start bending back the freezer section. Dum dum dum!
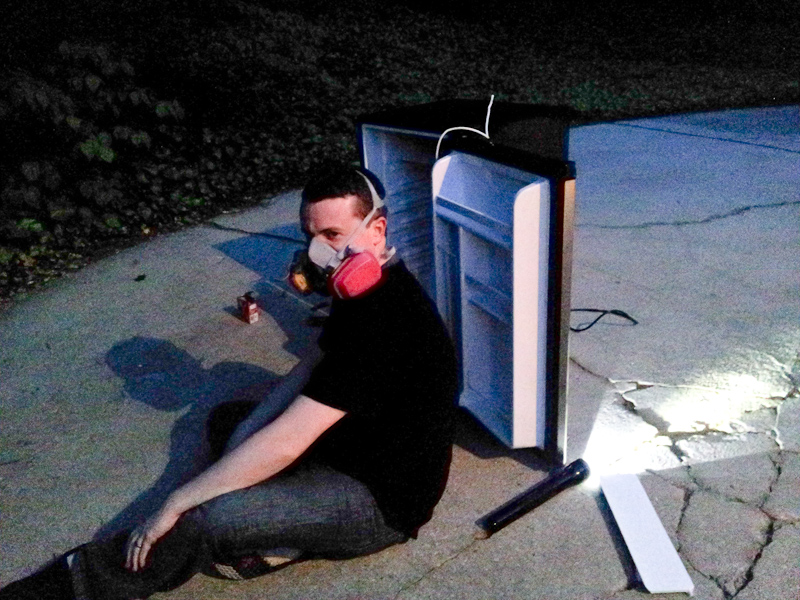
I read too much on the internet about freon and got a little paranoid. My brew buddy and I had some hefty gas masks lying around so we put em on before going any further. Probably overkill but hey– safety first right!
We heated up the pipe just a little to make it easier to bend. I could still touch it to move it. Took about 3-4 breaks in between and really concentrated on taking it easy.
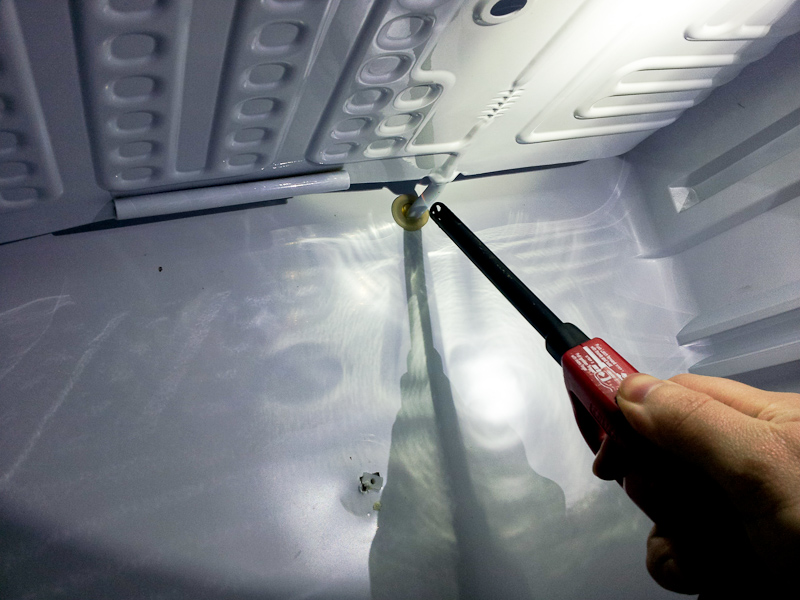
Unfortunately we created *this* in the pipe. I’m still not positive if it’s just a paint crack or the pipe itself. All I can say is yikes!
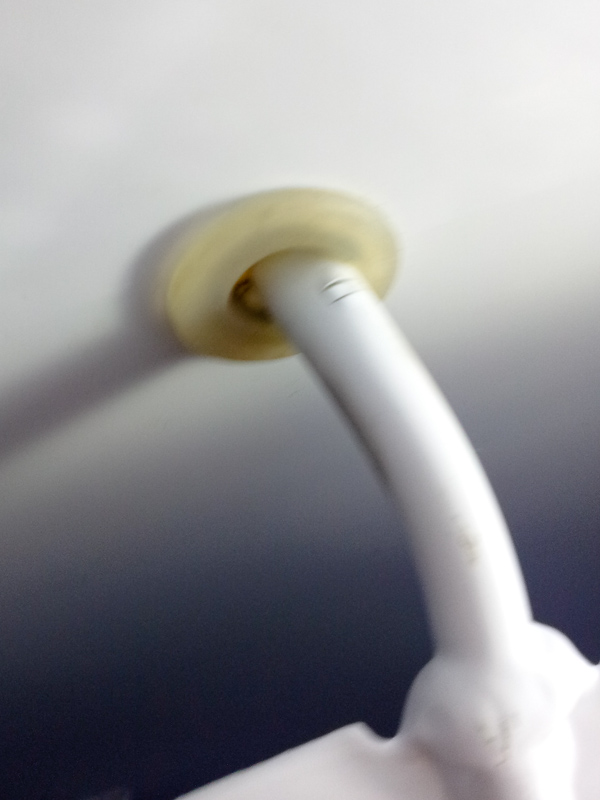
We put some soapy water on it and didn’t see any movement (besides gravity). Then we plugged it in and heard a slight hissing. Still no movement on the soapy water. We left it hanging around for about an hour and it froze up all of the soapy water around the crease/hole. It also kept the fridge pretty cool (~40F).
So I’m thinking it’s not a hole but the paint cracking. Gonna leave it running in the garage for a while and see if it maintains temperature. Might have to run a cable down there and add it to my temp sensing network. (Muahaha).
Update 4/17/2012
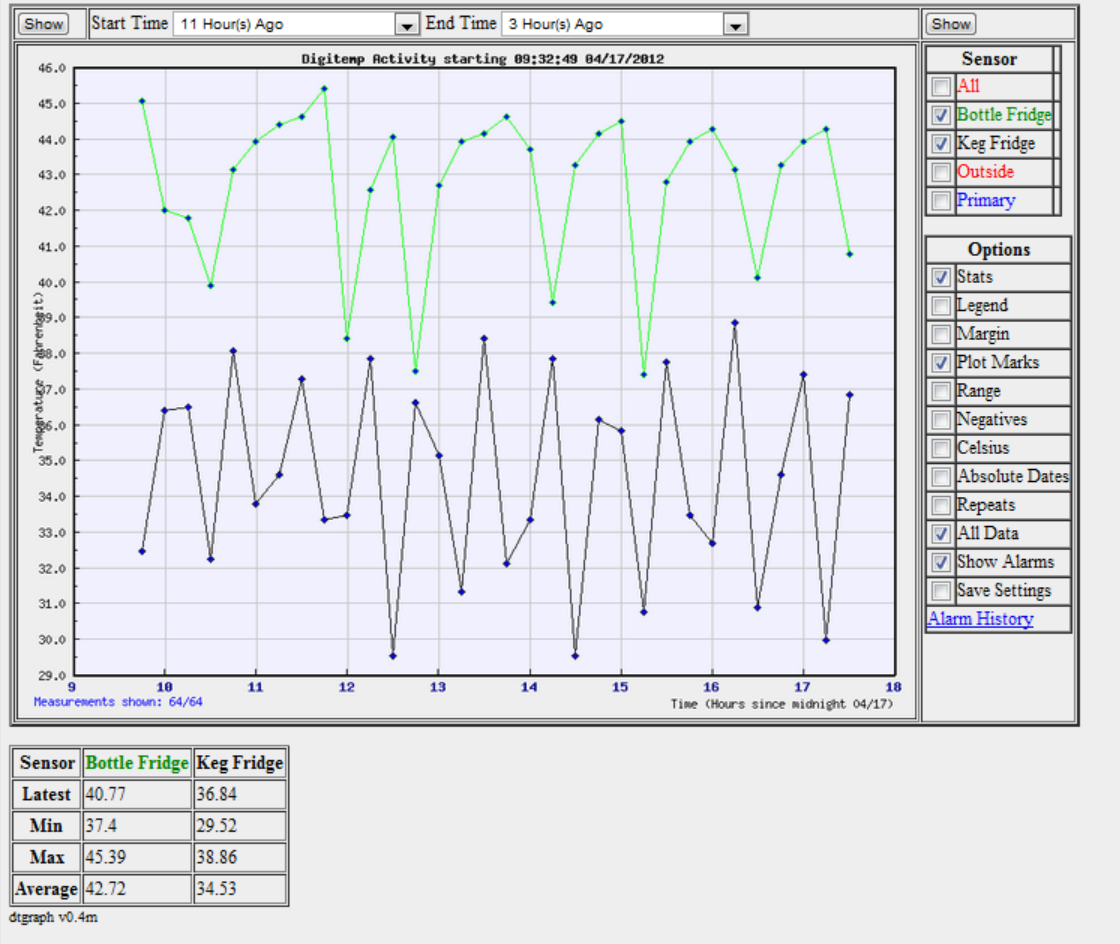
So after running it for a while it seemed to be keeping things cold. It didn’t stop like I’d expect if it was cracked. I hooked up another temp sensor to it to monitor it’s temps. Below is a graph of my Magic Chef 2.7 cu. ft. bottle fridge (in green) compared to the Danby DCR412BLS Keg Fridge (in black). As you can see the Keg Fridge is running too cold for beer — 34.53F average. This is with the knob at it’s hottest setting. Bummer
So I did some more researching and ran across this post on HBT that talks about an adjustment screw. There should be two– one coarse and one fine. I looked around on the thermostat controller for the DC412BLS and I think I’ve identified it. Unfortunately it’s blocked by the casing.
WARNING!!! Disconnect your fridge before touching the metal on this controller. Trust me you don’t want to shock yourself.
Here’s a really bad view of the screws I’m talking about. There’s two there on the top. Look inside the oval.
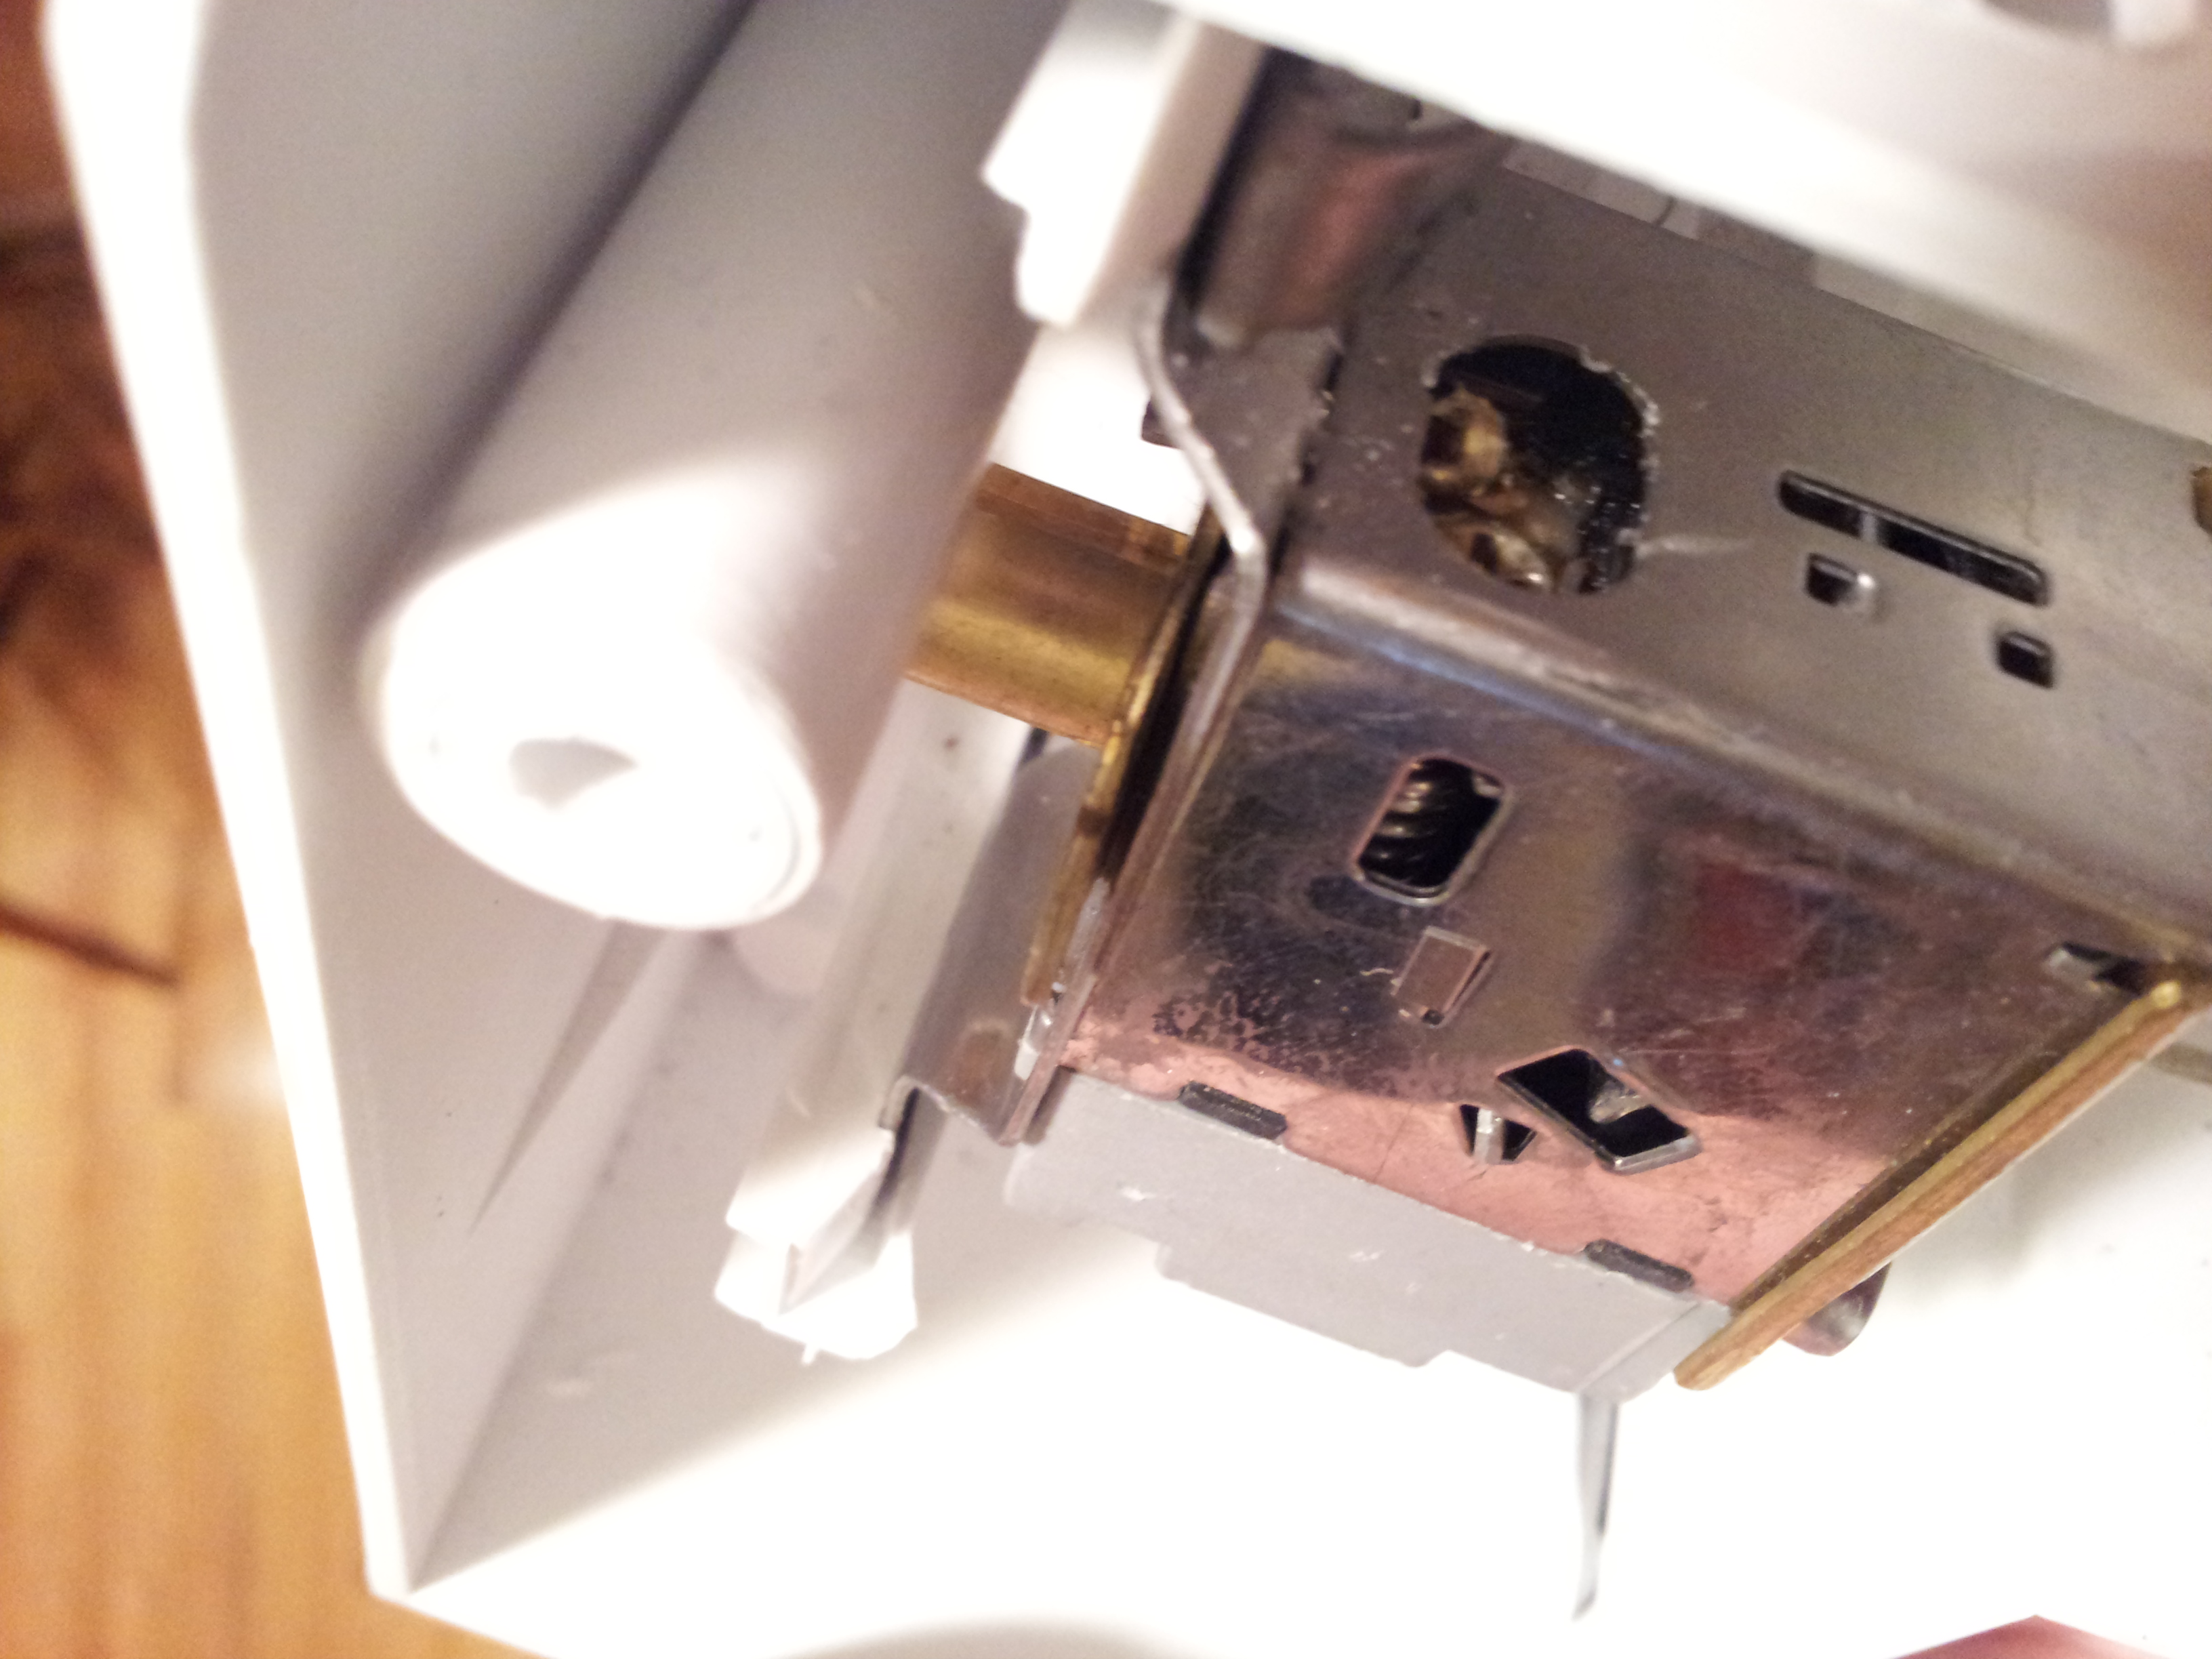
After pulling the fridge power plug, I took a pic of the leads (black, red, yellow) to remember their position) and then disconnected them.
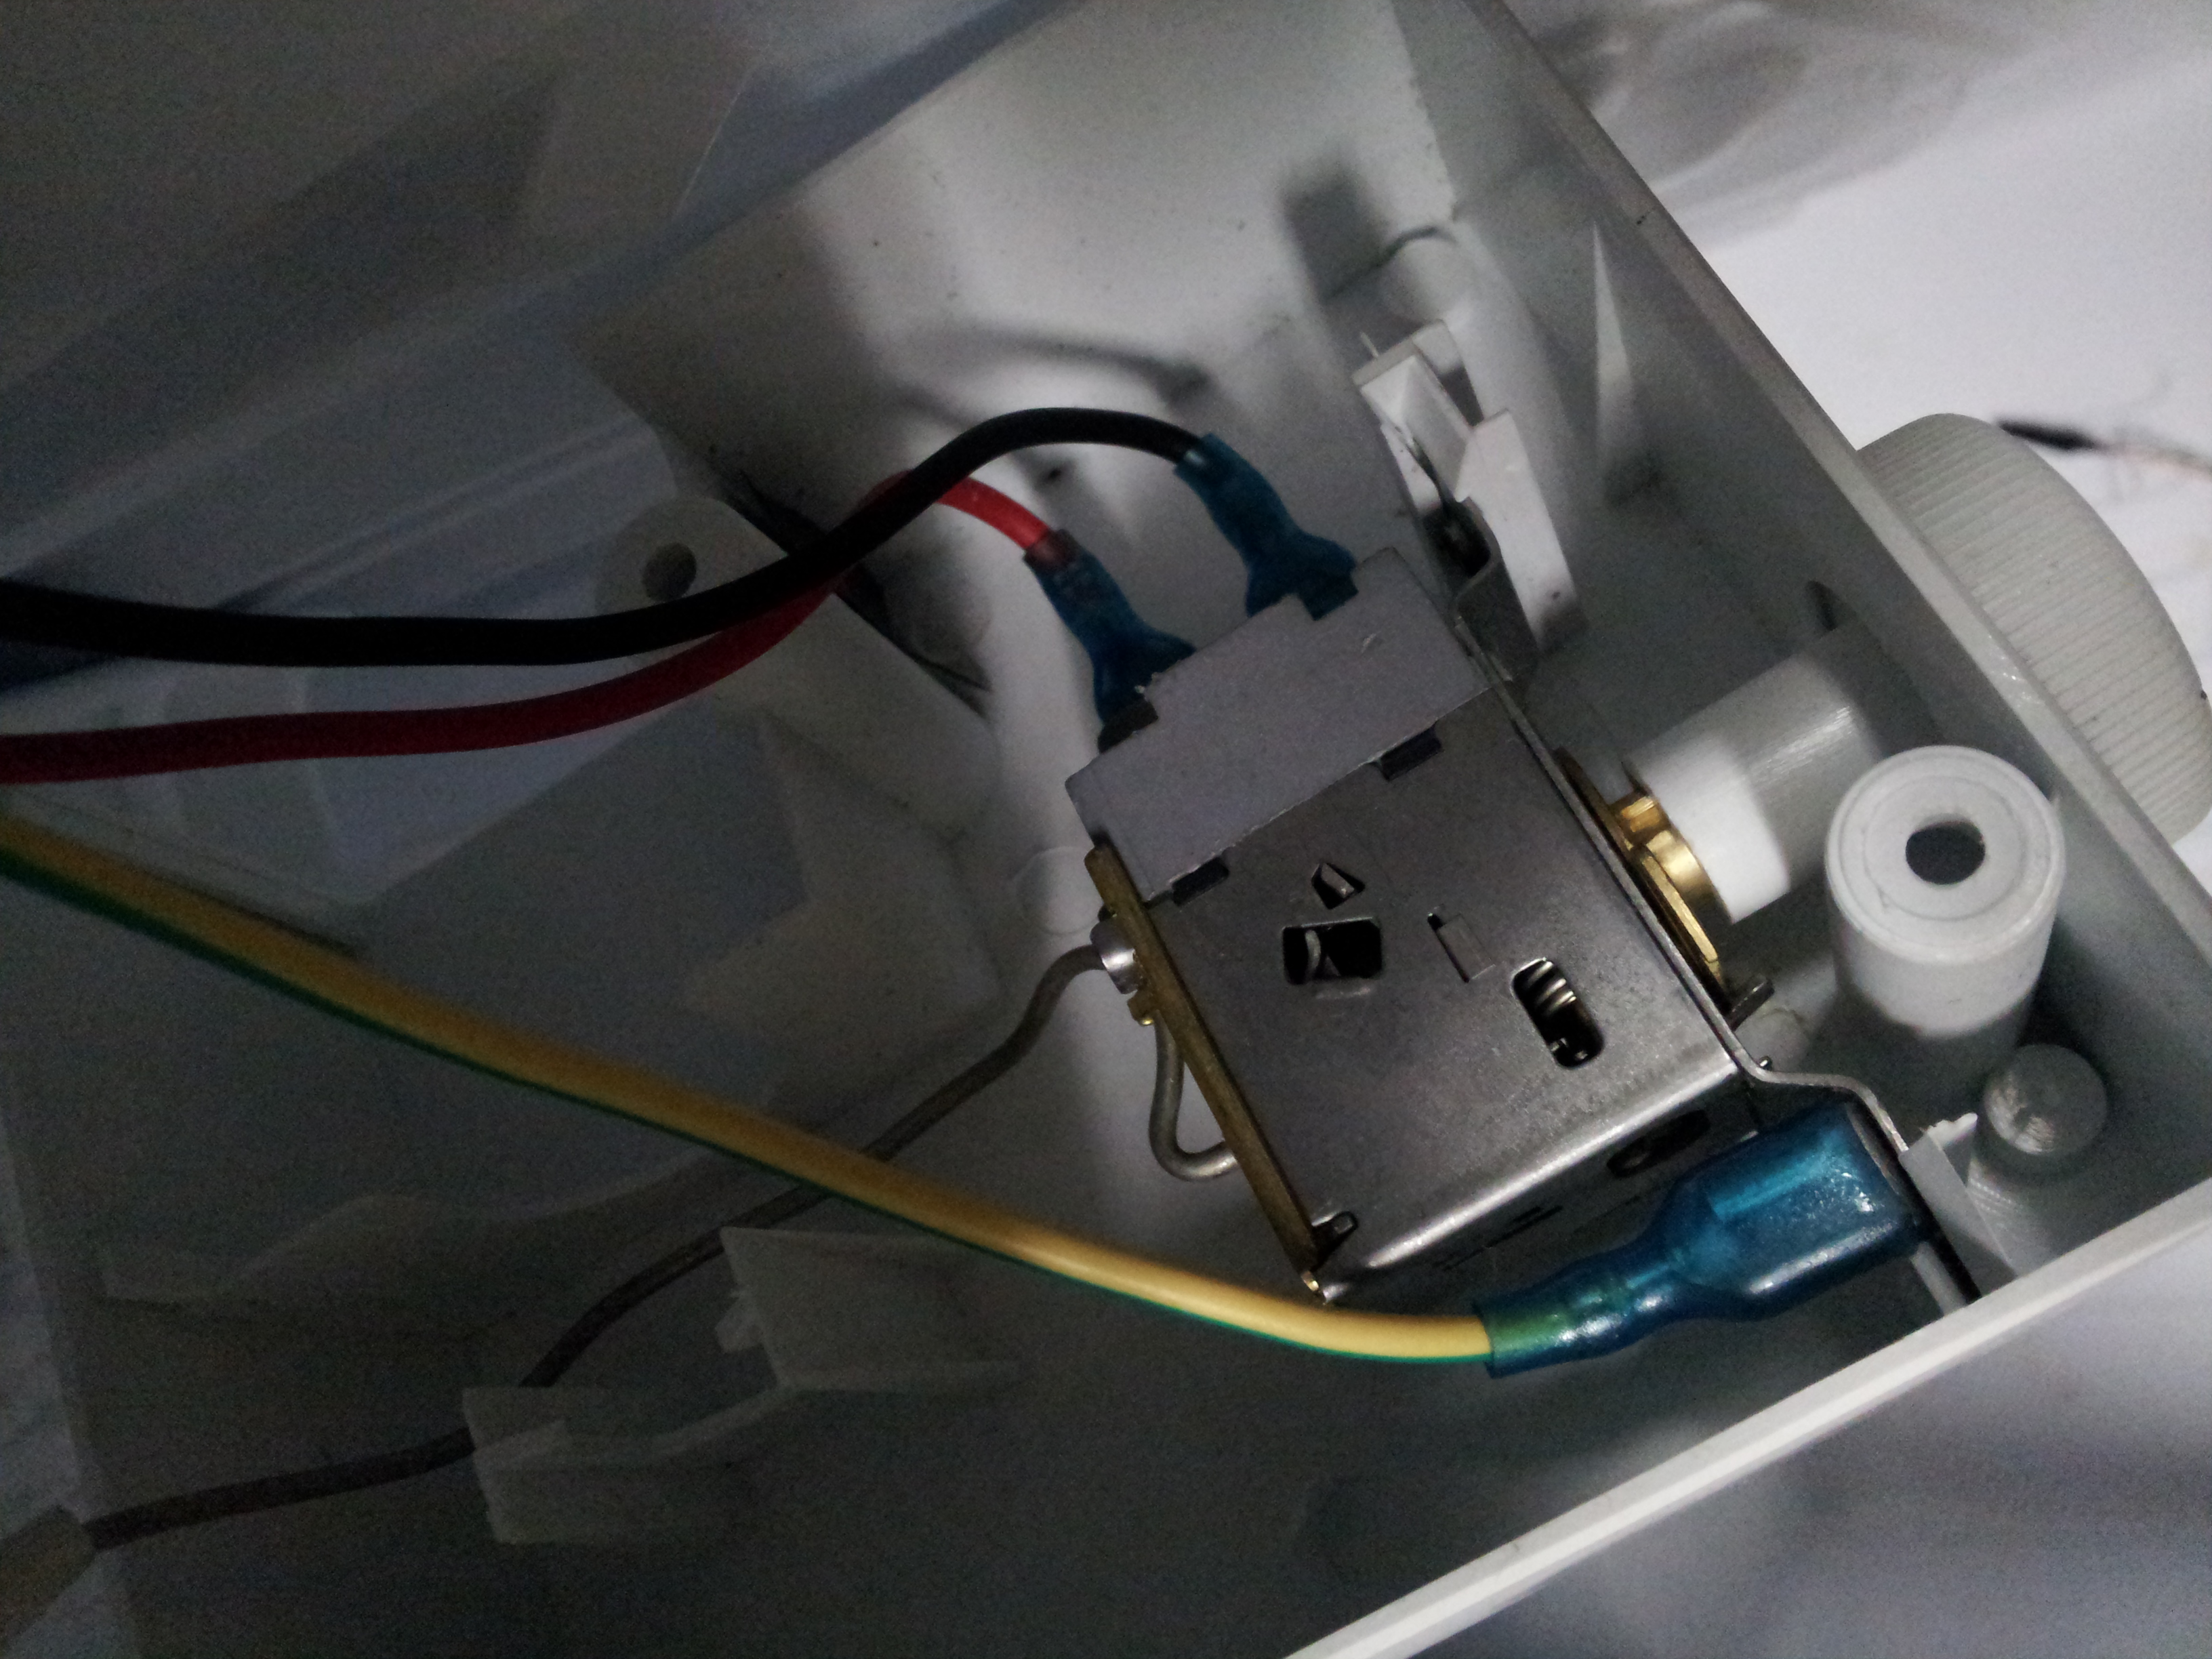
So I drilled a hole in the casing for easier access. In the process of doing that I accidentally partially decapitated the fine adjustment screw. Doh.
Anyhow after that hole was drilled in the plastic casing, I could get to the coarse screw. I rotated it one direction for a couple of turns. We shall see if it works in a few hours.
Update 5/2/2012
The adjustment screw worked great. You’re going to want to turn it clockwise to increase it’s temperature. Here’s a graph showing the increase in temperature after turning it clockwise. I believe this was two turns.
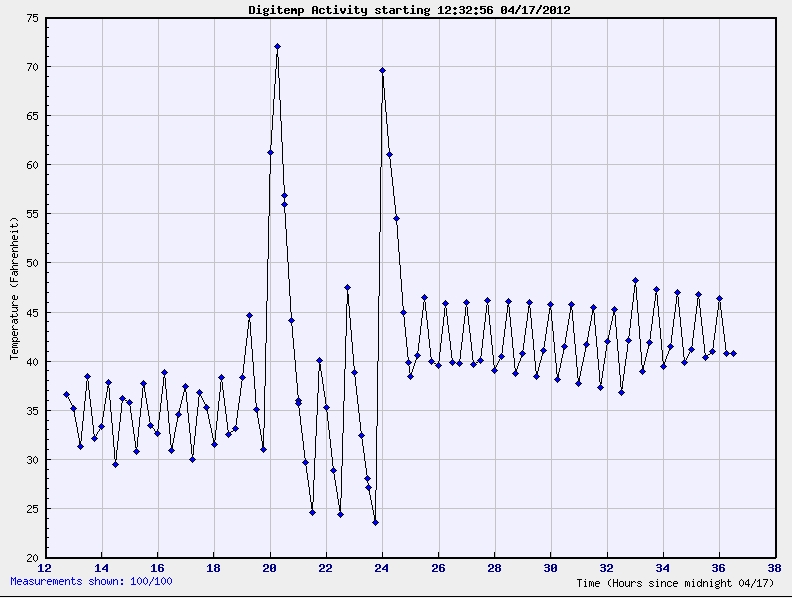
I fiddled around with the coarse adjustment to get it in the right state. Then it was on to removing the side paneling on the door. If you just pull back the rubber there are about 8 screws that you undo. Then the panel just pops off. Remember to keep the rubber seal as you’ll need it in the next steps.
We bought what Home Depot calls “White Panel Board”. It comes in huge dimensions but its only 12 bucks. We had them cut it down for easier transportation. We guestimated the size so we’d have extra space on the edges.
Then we took the side panel that we just yanked off the door and set it on top to get the dimensions and holes for the screws. And it was off to cutting with a electric saw blade.
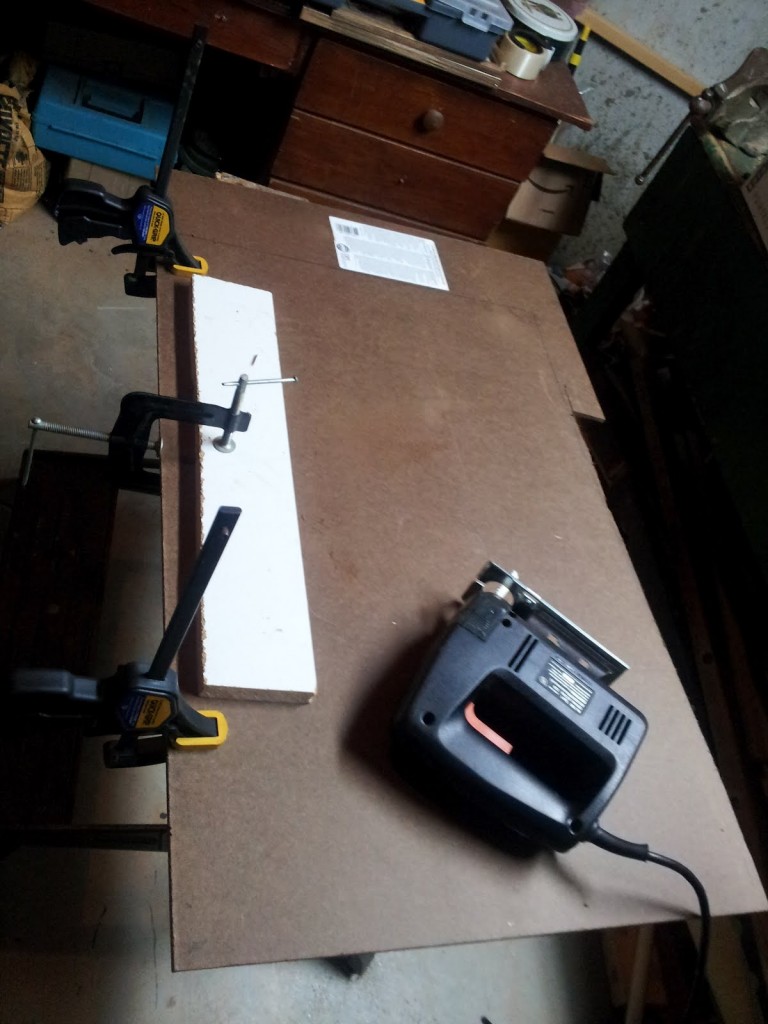
Then we fitted the rubber gasket back onto our new whiteboard panel. Pay attention to the orientation of the rubber seal. We found it didn’t seal right on our first try. so we rotated it upside down, i.e. 180 deg, and it fit perfectly. 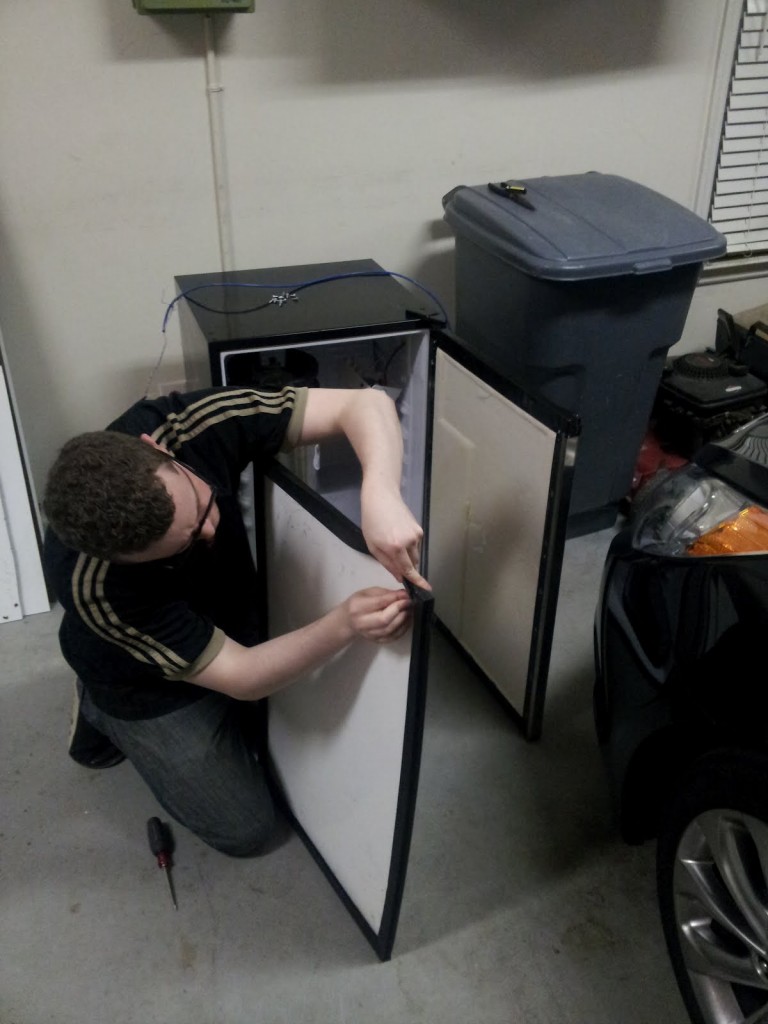
And screwed it back onto the door. This is harder than it seems but keep working on it and you’ll get there. This part is probably a two person job, with one person holding it in place.
Looking pretty good. 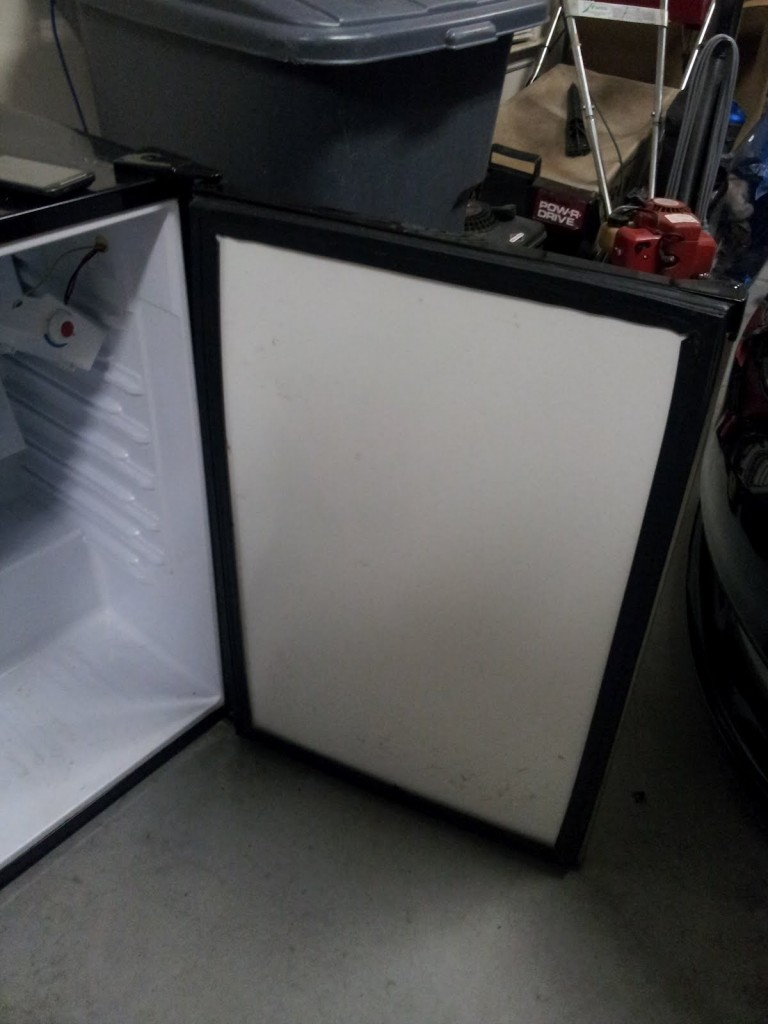
We then tried fitting the two kegs in there. It worked but it was a tight fit.
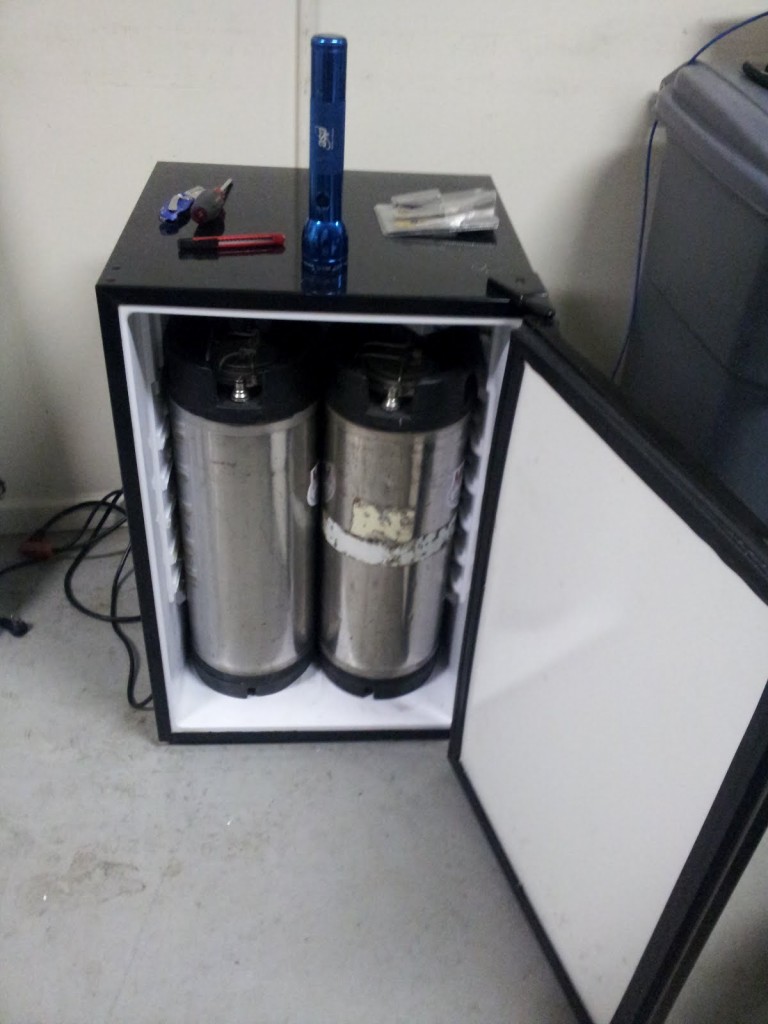
We then started shaving down the sides to provide more room for our two kegs. We did this with a razor blade knife. If you apply a thin amount of pressure and then carefully pull back you can cut through the plastic. It’s pretty thin. You’ll see a picture below.
So we decided to keep the CO2 tank outside of the refrigerator so that the regulators act right. There were reports of it not regulating correctly inside the fridge on HBT. Plus there’s the space issue. So we decided to drill a hole.
CorneliusAlphonse was kind enough to take a pic and show a diagram of where he ran his lines on the DCR412BLS. However he ran his lines right above the compressor. The beauty of his setup is that he didn’t have to punch through any metal as there was a plastic plug where he ran it. But it was right on top of the compressor so we were worried about heat.
So we decided to try and punch through the metal and shift it over to the left of the compressor (when looking from the back). There’s a nice empty space.
And now we get into ‘how not to do it’. That metal is harder than it seems. This was amplified by the fact that we just happened to drill our hole on the edge of the metal. We started drilling from the top. See below.
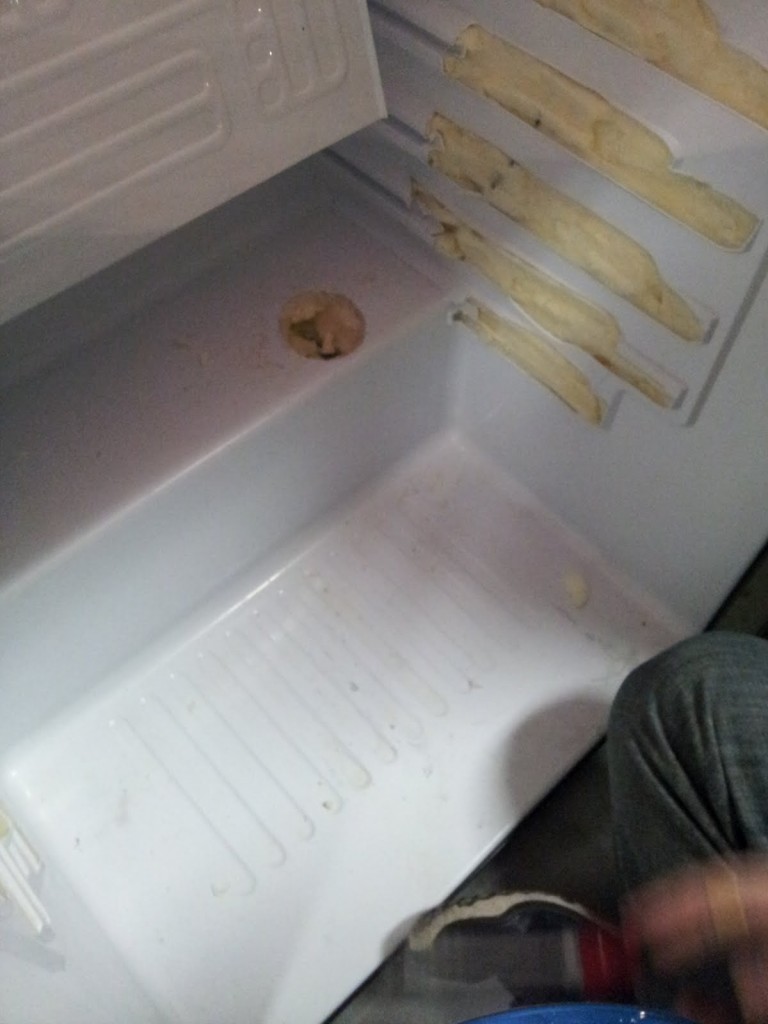
If you’re going to do it our way, move the hole back further so it’s not on the angle of the metal below. Better yet, get the right tools for cutting through metal. I’m sure there’s a specialized hole cutting drill for this metal. We used a plastic cutting hole for the top and then ended up using a nail and hammer on the metal until we could punch it out. Lots of work and jagged edges.
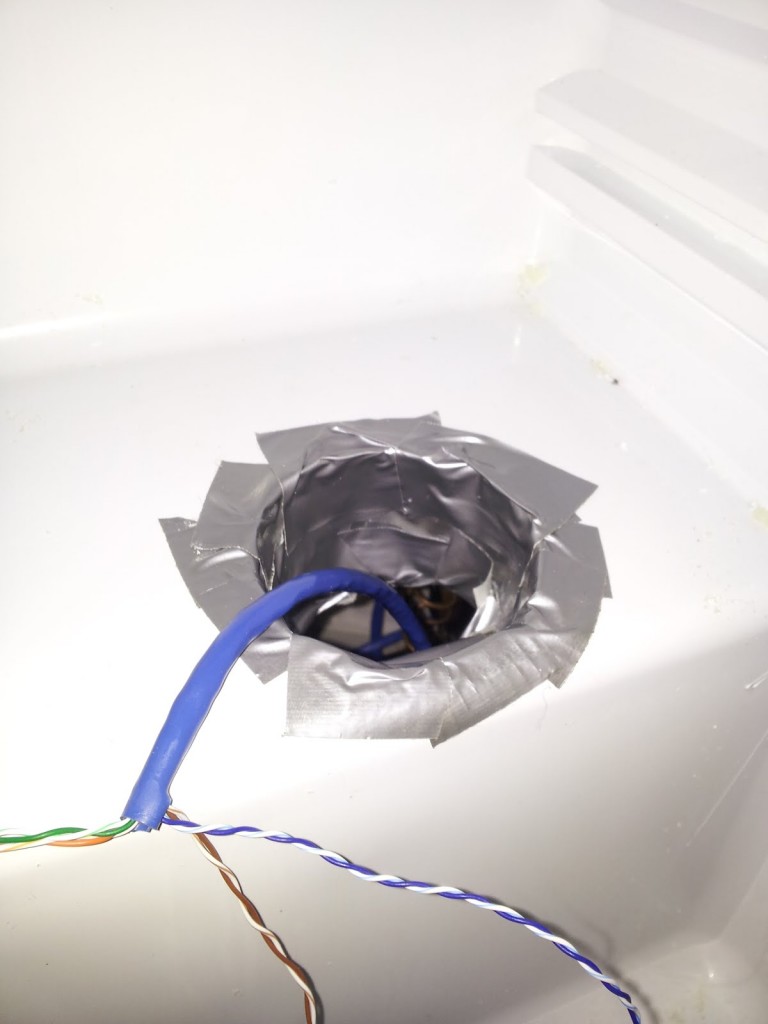
We taped up the jagged edges with duct tape and sealed everything up that way. There’s still a hole in the fridge. I’ll update later on how it functions with this hole.
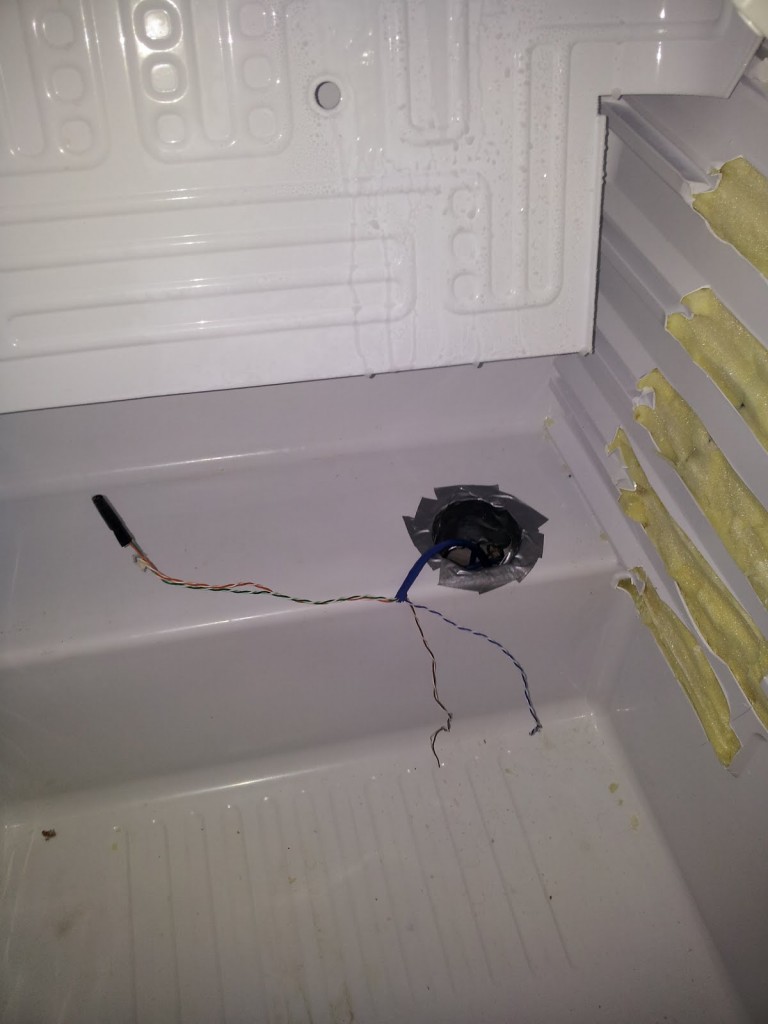
A closer look. Notice you can see the coils in the back of the fridge. That might help you pinpoint where we drilled.
There were thoughts of using a rubber gasket cut in a star format to pass our lines through. (I believe they’re actually called grommets) Something like the water cooling on computer cases.

There’s also thoughts of foam insulation for piping to seal up the hole.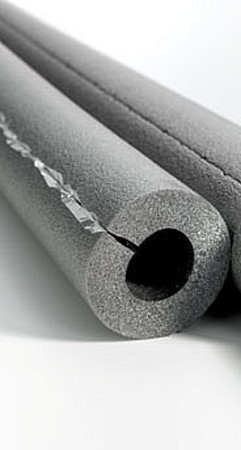
This is great info. Thanks. Do you have pictures and directions on the drilling for the tab tower? I heard that you have to be careful not to drill a coolant line or you are screwed.
Thanks,
Mark
Yeah I heard the same thing about the coolant lines. That’s why I ended up not drilling a tap tower. I put 3M command towel hooks onto the door whiteboard, and then hang my tap lines to it. I then write what each tap line is on the whiteboard. It works reasonably well for my needs.
Finally!!!!
I surfed lot of websites looking for this info of the Danby thermostat!!!
My recently converted Danby Designer won’t go bellow 42F with the thermostat set to the max. I’ll start playing with that screw tonight!
Thx and Great Job!